Browsed by
Author: ruthlane

When I discovered felting in 2007, I finally found the creative outlet for which I had been searching. I love that the versatility of fiber allows me to “play” with a wide variety of materials including wool, silk, fabrics, yarns and threads. Creating one of a kind fiber art pieces to share with the world fulfills my creative passion.
Exhibition and Online Auction at the Gail Harker Center for Creative Arts

Exhibition and Online Auction at the Gail Harker Center for Creative Arts

Gail Harker Center for Creative Arts is where I am currently taking my Level 2 Machine and Hand Embroidery class. They held a Black, White and Red exhibition this weekend and on Tuesday, there will be an online auction.

Black, White and Red, features 82 miniature works by the Center’s students. After the exhibition, the 5×7 inch works will be auctioned to raise money towards the completion of a permanent art gallery at the Center. An online auction will take place Oct. 9.

You can look at the works that will be auctioned off by going here. I donated a piece and if you want to see it, look for number 74 in the slide show. There are some really nice pieces of art being auctioned off so if you’re interested, the auction guidelines are listed below.

About the Auction

The Auction will be ONLINE only and will be for 1 day, Tuesday, October 9th.  The auction will begin at 9:00 a.m. PST and end at 7:00 p.m. PST.

Here is how the online auction will work:

  • At 9:00 a.m. October 9th a new page will go live on the center website www.gailcreativestudies.com. The auction page will be found under the Exhibition tab. This page will have a listing for each item, including the item number, Artist’s name, a very short description and a thumbnail image which can be clicked on to open a page displaying a larger view of the work, a suggested minimum bid, the current bid and an “e-mail your bid” button.
  • You can e-mail the Center a new bid as often as you wish during the day. Bids will be updated live throughout the day.
  • Winners will be notified via e-mail on Oct. 10. Items may be paid for by Check in US funds or by credit card over the phone. Items will be mailed after payment has been received.

Please note: bids received prior to 9:00 a.m. on October 9, 2012 will not be considered valid.

A Production Calendar – What’s That?

A Production Calendar – What’s That?

When you’re planning on selling wholesale, you need to plan ahead to make sure that all of the orders placed by galleries and shops can be filled. Consider if you attended a wholesale market and you received 20-25 large orders. You would be very excited and happy that your work sold so well. But did you pay attention to when those orders needed to be shipped? Perhaps you were trying to please the buyers and you told all of them that you could send out there order right away. Once you get home and start to work, you realize that it will be impossible to make enough work to fill the orders on time. What do you do now???


The scenario above is not a situation that you want to happen. If you tell a buyer that you can send an order at a certain time, you need to be able to send the order when promised. Galleries often don’t give you a second chance if you prove to be unreliable. One way to avoid this situation is to develop a production calendar. Everyone’s production calendar will be slightly different depending on the products produced and their working methods.

To develop a production calendar, you need to know how long it takes to produce each of your products. Does it take less time to make certain products if you make more than one at a time? Once you know how long it takes for production, then you need to give yourself time on the calendar for each wholesale order that you receive. So if you take an order for $500 worth of products and it will take you 1 week to produce that work, mark the ship date for that order on your calendar and mark a line through the previous week to avoid putting in any other orders for that week. As you continue to fill your production calendar, if a month becomes filled with orders, you can not take any more orders to ship for that month. Tell the buyers that you can send their order in the following month because you have already filled your production calendar for that month. Buyers understand how production calendars work and realize that you need time to fill all the orders you have taken at the show.

Once you get back home, you can use your production calendar as a schedule and fulfill the orders as they come up on the calendar. If for some unforeseen reason, you are not going to be able to send an order on the agreed upon shipping date, contact the gallery/shop as soon as you can to explain the problem. Tell them the circumstances and make sure they still want the order to be shipped even though it will be late. Using a production calendar will help to prevent late shipments and improve your relationships with wholesale buyers. Presenting a professional demeanor is important and keeping your shipments on time will give galleries confidence in your business abilities.

Join in on our Holiday Fiber Art Exchange

Join in on our Holiday Fiber Art Exchange

I know it is way too early to start thinking about the winter holidays or Christmas or whatever it is that you celebrate at that time of year, but believe it or not, it’s almost October. We are planning a fiber art exchange on the forum and wanted to invite everyone to join in.

If you’re a member of the forum, just go sign up in the “Challenges” section under ‘other challenges’. If you’re not a member of the forum, why the heck not?? Come join us in our various discussions and show us what you like to do in the fiber arts. Anyway, it’s easy to join. Just click on the Forum button in the right hand column and it will take you to a screen to sign up. Then we approve you and you’re ready to go.

This year, instead of just ornaments, we decided that you could make anything that you wanted out of some kind of fiber that related to the winter holidays. You could still make an ornament or you could make something for the person to wear during the holiday season or something for their table or something for their dog or whatever! We’d love for you to join in on the fun. Think how delightful it will be to open your mail box and find a fiber art holiday gift waiting for you. We’ll match you up with another person and you’ll swap gifts with your partner.

So what are you waiting for?? Get on over to the forum and sign up!

Machine Embroidery History

Machine Embroidery History

I recently studied a bit about the history of machine embroidery for my stitch class. I found an instruction book from the Singer Sewing Machine Company published in 1911 for doing “Art Embroidery”. It was amazing to see what was being done 100 years ago on a treadle sewing machine.

Recently, Mary Corbet of Needle ‘n Thread wrote a blog post about old embroidery books online because she’s had lots of questions about where to find antique embroidery patterns. So I thought perhaps there might be some interest in the history of machine embroidery. Do read Mary’s post, as she has some excellent links.

This is the book that I made with my local surface design group. Jan showed us several book making techniques and I used some fabric that I had screen printed quite a while ago.

Since I already had the book made, I thought I’d put it to use while researching machine embroidery history. I looked up the origin of the sewing machine and then went searching for other early resources.

Amazingly (to me anyways), I found a Singer manual for “Art Embroidery” that looked very similar to techniques I was learning in class. I found the manual through Internet Archive. It is a digital library with tons of old books that have been scanned and made into PDF files. And it’s free. You can go and search to find many old goodies. Here’s the Singer manual PDF link. If you do any type of machine embroidery, it is worth a look. You will be amazed at what was being stitched in 1911. The instructions are pretty funny to read and vague, but it is quite interesting.

I can’t imagine doing machine embroidery on a treadle machine. The coordination is hard enough with a foot pedal much less having to pump your foot up and down on the treadle at the same time you’re stitching.

We were given three names to research as these were well-known machine embroiderers in England in the early nineteenth century. The first was Rebecca Crompton who started with hand embroidery but then moved on to machine and a combination of both. She was very much into teaching design and moving embroidery away from “craft” towards “art”.

Next was Dorothy Benson. She worked for Singer Sewing Company and made many machine embroidery samples. She wrote a book about machine embroidery and sewed many of Rebecca Crompton’s designs.

Here are a couple of examples of Dorothy’s work that were stitched in the 1940’s. I think these would fit right in with what people are stitching today, don’t you?

The last name I researched was Constance Howard. She was a well known instructor in the UK. She lived to be 90 years old and dyed her hair green long before the trend became popular. She established the department of Embroidery in the Art School at Goldsmith’s College, London when embroidery was completely out of vogue. She was the author of several books including the mammoth task of “Twentieth Century Embroidery” which chronicles the history of embroidery in the UK from mid 19th century to the mid 1980’s.

So even if you aren’t into machine embroidery, take a look at the Internet Archive. I did find “A Treatise on Hat-Making and Felting” published in 1868 that was interesting. There are many books and pamphlets about hand embroidery and other topics that I haven’t explored. It has an easy to use search feature. Do let me know if you find anything fun!

One of a Kind Artwork Sold Wholesale?

One of a Kind Artwork Sold Wholesale?

I had a question about selling one of a kind artwork on a wholesale basis several weeks ago.      When I first heard the question, I thought “No”. But I’ve given it some thought and I think the answer is different depending on what you categorize as “one of a kind”.

“One of a kind” means different things to different people. Perhaps you make small felted snowmen ornaments. They are each different because they have varying facial expressions, different embellishments and colors. These could be classified as “one of a kind” but could easily be sold on a wholesale basis. You could figure out the time it takes to make one and price accordingly. Then these ornaments could be sold by the dozen or whatever worked for you.

Now consider “one of a kind” felted scarves.  If the same methods were used to make all the scarves but they perhaps used differing fibers or colorways, each would be unique.  You could make multiple scarves at once and perhaps use a rolling machine to decrease your time spent to make them be affordable enough that they would sell at wholesale.

But what if you make wool “paintings” or complex fiber art sculptures? As these types of work usually take an extended time to make and there isn’t a way to produce them in multiples, it will be much more difficult selling them on a wholesale basis. For example, an oil painter doesn’t usually sell his/her artwork on a wholesale basis. Paintings or fine art are usually sold on consignment in galleries. I have seen a few artists that make production work and sell on a wholesale basis try to sell their “one of a kind” sculptural pieces as well. It just doesn’t seem to work very well. Stores and fine craft galleries are looking for items they can buy in multiples.

If you want to sell your work on a wholesale basis, you need to be able to produce enough work to sell in multiples and fill large orders. If you aren’t able to do this with your work, then you need to develop relationships with galleries and sell your work on consignment. Even though you don’t get paid up front for your work, you will generally receive more money for your work on a consignment basis. As long as you work with reputable galleries, selling complex one of a kind artwork on consignment is the better option.

Starting Over

Starting Over

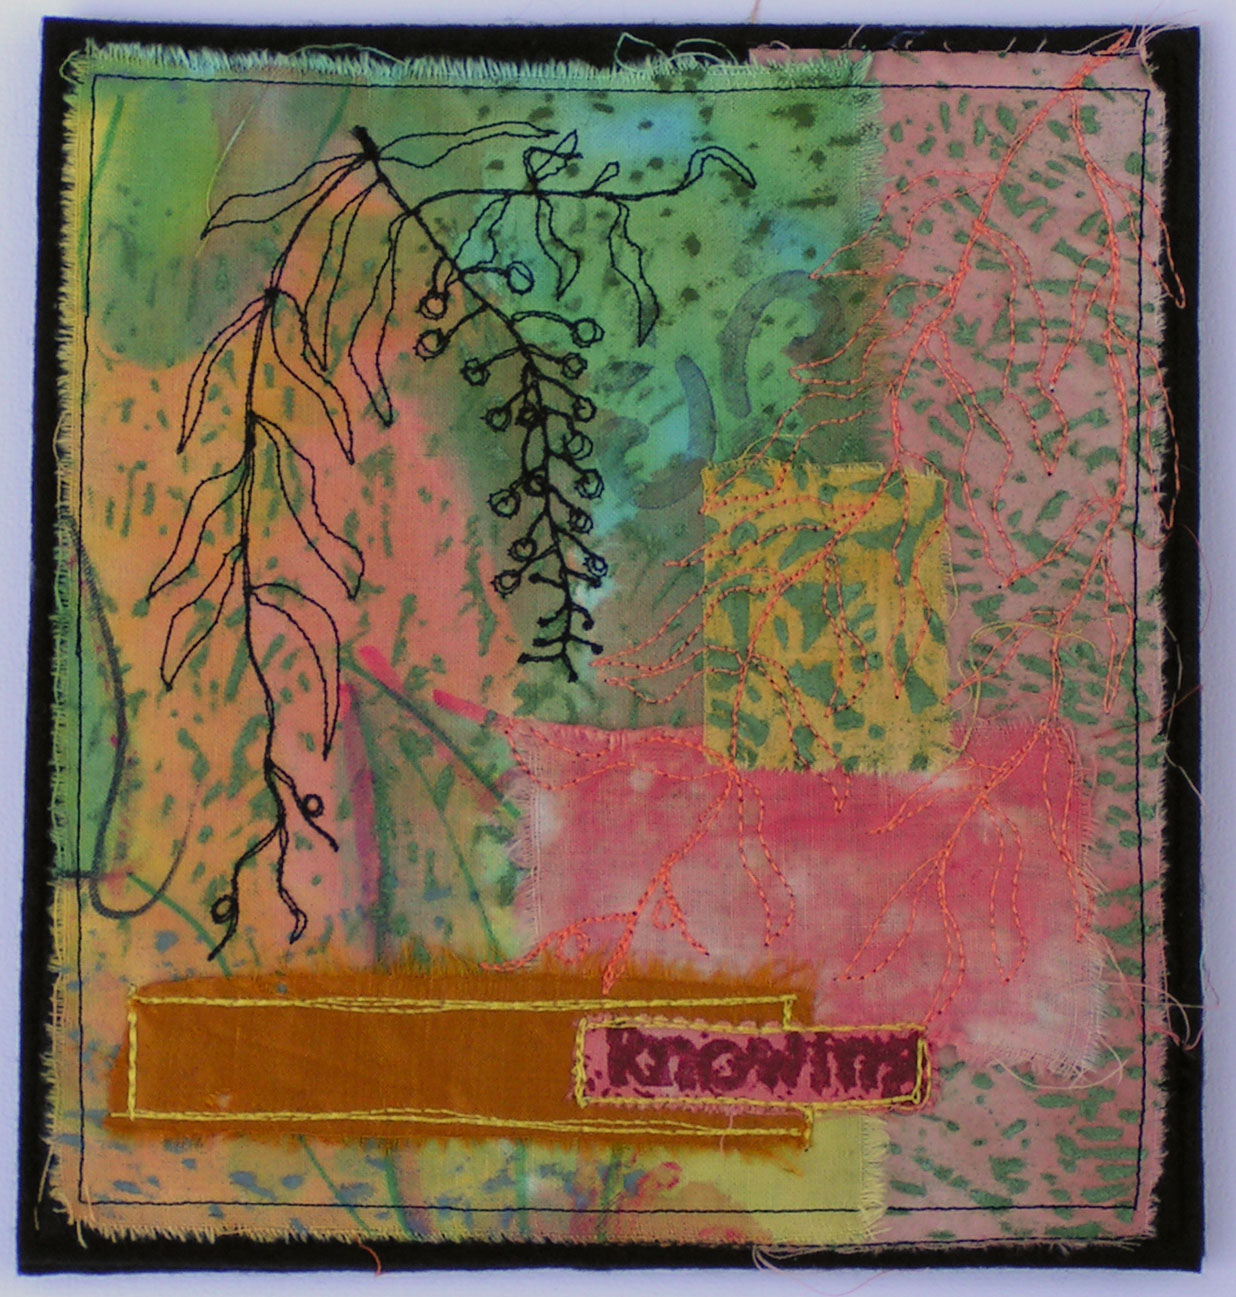
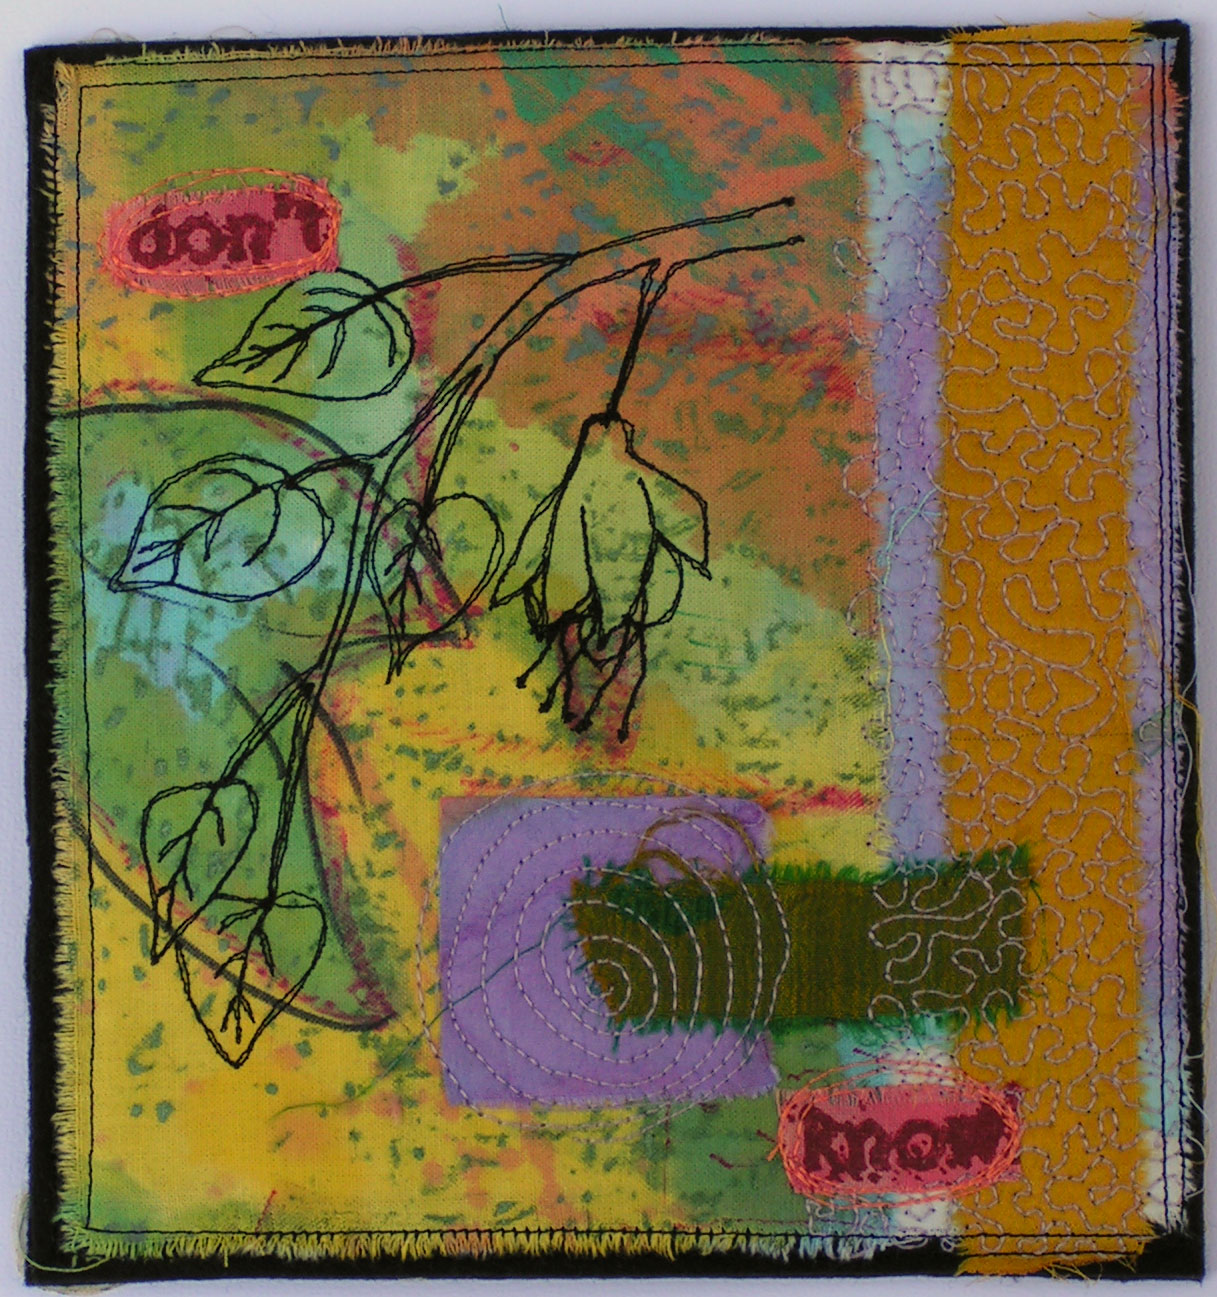
It’s okay to start over again

knowing what you know and what you don’t know.

Moving on imperfectly,

and being at peace with that decision.

You don’t need a brand new book

 to begin writing a brand new story,

And although it marks a significant point in time,

You don’t need a brand new year to begin living

if you simply make the choice and begin

from the place where you are right now.

This is a book that I made for my stitch class homework. We were supposed to look at others who do contemporary machine embroidery work and this book is based on Cas Holmes work. She uses a variety of repurposed fabrics and layers with machine stitch. I was going to cover a small notebook that a friend challenged me to “re-do” but it didn’t quite work out that way.

I started off with the orange-colored fabric rectangles that I already had cut out to make cards. I backed them with Stitch N Tear and stitched flowers, leaves and bugs with black thread. I free motion machine stitched and didn’t draw ahead of time, just did it by eye.

Then the notebook I was covering was just a bit bigger than the stitched rectangles. So I had to add more fabric. All of the fabric came out of my stash. Some of the lovely bits of silk ribbon came from Karen (thanks kaz!).

The poem was from my friend Carole. She had made a silk screen with the poem and I had tried it out on a scrap piece. It was imperfect letters with some very obscured, to match the poem. I don’t know who the poem is written by but would love to give credit if someone knows. I looked online but couldn’t find it.

Once I had the collaged pieces together, I decided that if I was going to stitch over them to hold them down, I would need a backing fabric. I picked black felt to emphasize the black stitching and to calm down the overall random color scheme.

I was trying to be a bit looser in my design and not try to  make everything perfect. This flower was particularly ugly so I thought the word “imperfectly” fit it perfectly 🙂

I then added a variety of stitching to the background. This is really not my style but it was fun.

I then stitched around the edges of the page with black to hold everything down that hadn’t yet been stitched and to give a more finished look.

Then I went back to cover the spiral notebook and the pages were too thick to fit. But I decided that didn’t really matter too much as the pages were beautiful and I could do a hand sewn binding.

So then I sewed the pages back to back.

Each of the left edges of the book pages then needed to be marked at 1/4″ intervals so that the blanket stitch would come out evenly. If the stitches don’t line up, the binding doesn’t work very well.

Once all the pages are marked, then the left edges were sewn with knotted blanket stitch. The knot is added to increase the strength of the bars on the edge of the page formed by the blanket stitch.

After I stitched all the knotted blanket stitch edges, then I lined up the pages and connected them together with big safety pins.

The binding is then formed by doing raised chain band stitch over the bars of the blanket stitch. If you look back at the first photo you can see the binding.

The first time I did this type of binding, I found it a bit cumbersome but this time went much more quickly and smoothly. I guess my mother was right, “Practice makes perfect”.

Oh but I wasn’t supposed to be perfect!! Note to self, don’t listen to that voice in your head that sounds like your mother.

Australia Challenge

Australia Challenge

I have been busy trying to get all my stitch homework done but was able to combine stitch homework with this quarter’s challenge. We are working on machine embroidery and are looking at others work who do machine embroidery. Then we are supposed to try to work in their style. I have always admired Annemeike Mein’s sculptural textiles and since she’s from Australia, I thought it would be a good match. I haven’t been able to find a website for her but there is information here about her work. If you scroll down to the bottom of the page, there are several links that show photos of her work. Or just google images under her name.

I decided that I would try developing a three-dimensional stitched bottle brush. So I found some photos online and looked at the various parts of the flower.

I did a bit of sketching and wished that I had a live plant to look at. It’s much harder to really see what something looks like and how the structure is formed from a photo. But since we don’t have bottle brush in Montana, I had to go with what I had.

I then started thinking about how I could stitch the various parts, what color fabrics and threads I would need and how it would all be put together. So in the bottom right of this page are a couple of stitched samples. There are two little buds and then a flower stem. It didn’t turn out very three-dimensional and would need some additional parts to work. I was happy with the buds though.

Next came thinking about how to do the leaves. I started with a heavy cotton and then spent a long, frustrating ten minutes trying to turn the leaf right side out. I failed. So then I tried a piece of felt. It worked fine but looked artificial and didn’t give the flexibility that I was trying to achieve. So then I tried lighter weight fabrics. Those worked much better and I ended up liking the “turban cloth” cotton the best.

Next, it was time to think about a stem. I could do a long tube of fabric, turn it right side out and then stuff it. But after the leaf experience, I wanted to see if there was a different way. I have made a lot of machined cords and thought that might work. What if I used a pipe cleaner and stitched over it like a cord? I didn’t have any green pipe cleaners so I used a red one. It did work to stitch over it and the stem would be flexible, positionable and sturdy. However, it is really hard. I’m not sure I would be able to hand sew on all the little buds and flowers. So the next step will be to try the long tube of fabric and see how that will work as the stem.

Believe it or not, this process has already taken me about four hours of work. Having not done much three-dimensional stitching, I have to figure out what works and want doesn’t. I have learned a lot already and I’m going to keep plugging along with the process.

Have you made anything for our Australia challenge? We’d love to see it if you have.

Selling on Etsy

Selling on Etsy

Today on Marketplace Monday, I have an invited guest to talk about Etsy and selling online. I don’t have any experience on Etsy so I thought it would be good to ask my friend Vicki to talk to you, since she has a successful Etsy shop. Vicki dyes the most beautiful fabric. She sells mainly to quilters but if you use any kind of fabric in your artwork, you should check out Vicki’s shop as her fabric is wonderful and she will even make a custom piece just for you if you can’t find what you need.

Thank you, Ruth, for inviting me here today. As Ruth knows, I am an Etsy seller and I love the Etsy platform so when she asked me to talk a bit about selling on Etsy I jumped at the chance.

I am not a felter; I am a fabric dyer and quilter and I blog at Field Trips in Fiber. I started blogging about my quilting, dyeing and other pursuits in 2006 and that eventually led to selling my hand dyed fabric. I opened my Etsy shop in 2009. As with anything it was a slow start but the business has grown steadily. After 3 years of selling I can still say that choosing Etsy as my platform was one of the best decisions that I have made.

Today I thought I would talk about three things. First we will discuss why Etsy over other sites, second I’ll share some tips that apply no matter which platform you choose and finally, I’ll discuss some tips for creating great listings.

Why Etsy

Before choosing Etsy I had to choose to sell my fabric on a marketplace platform instead of a dedicated web site. That was an easy one for me. I do not have the time or money to manage a separate web site. I’d rather be creating than doing web maintenance. I consider the Etsy fees that I pay as a bargain for some fabulous IT support.

I chose Etsy simply because it is the biggest platform out there. There are other sites like Big Cartel and Art Fire and they are very good sites. But I want my fabric where the buyers are and Etsy gets more traffic than any of the competitors. Consider the following stats:

  • There are over 875,000 Etsy sellers. Yes, it’s a lot of competition but they are there because that’s where the buyers are. Most casual shoppers do not even know about any other sites for buying handmade and vintage items.
  • Over 2.9 million items are sold on Etsy each month.
  • Etsy is the most pinned site on Pinterest

If you want your items to be as visible as possible, Etsy is the platform. The challenge will be differentiating your shop and your products so that they do not get lost among the millions of other listings. Here are a few tips.

Etsy Tips

 The biggest challenge on Etsy is getting your listing seen.  Recently listed items will appear in the search first so you can list/relist often to keep your shop fresh. I try to have new items to list every week but when I don’t I will relist a few items just to keep something showing early on the search page. Selling hand dyed fabric gives me an advantage since there are not a great number of hand dyed fabric sellers. But if you are selling a popular item, like jewelry or art, then listing often is important. Etsy also feeds Google search so listing items frequently will move you up in Google search pages as well.

Also, make use of the search tags and listing name to help customers find your items.  This is what Etsy uses to match your item to a search query. Use all 13 allowed tags on each listing and make them relevant. Try to consider the search terms that potential customers would use to find your item. Include colors and your name for people searching by artist.

Etsy also provides a lot of help and guidance to sellers. The Etsy Online Labs is full of great information and you can always get a question answered in the forum. You can also purchase Search Ads reasonably that will guarantee you a certain amount of front page visibility.

But you cannot rely solely on customers finding you through Etsy. To have a successful business on Etsy you must drive a lot of the traffic yourself directly to Etsy.  About half of my customers are first-time Etsy customers. They have joined Etsy specifically to buy my fabric.

Think about who your customers are and where they might be. If you are selling art, your customers are not likely on other fiber art blogs. They might be hanging out on decorating blogs or homemaker blogs or even local interest blogs and sites. It’s important to find the customers first so you can tell them about your great products.

I get a lot of traffic from Google search and that has helped me identify other audiences for my fabric. I’ve sold fabric to a guy who wanted it for background for his aquarium, someone who wanted it for a speaker cover and to a lot of costume people and photographers. The costume and photography connection is one that I am exploring now for some advertising venues beyond quilters and fiber artists.

Here are a few things that I do to promote my hand dyed fabric. Maybe a few of them will give you some ideas for your own art.

  • My blog: I focus at least 2 posts each week on my hand dyed fabric. I usually have a “New in Shop” post mid-week and I have a post each Sunday highlighting possible quilt layouts using the current featured fabric palette. I also highlight blogger who use my fabric. Many of them are kind enough to post links to my shop and blog. Two in particular provide some of the best advertising possible and it’s free although I make sure to give them some free fabric from time to time.
  • Advertise on other blogs. This is a tricky one. It takes some work to find just the right sites. I have tried in vain to attract the “modern” quilters to hand dyed fabric. They simply are not ready to go there but I found a craft-centered blog where my advertising is finally paying off. In addition to advertising I periodically sponsor a giveaway on the blog to bring my products front and center.
  • Sponsor contests and giveaways on other web sites and blogs.  I sponsor quilt contests on quiltinggallery.com and usually sponsor the semi-annual Blogger’s Quilt Festival. Some require payment and a donation but often you can find ones that only require you to provide a prize.
  • Advertise in publications. I advertise in several magazines. It’s not inexpensive but it does work. Make sure your ad is not too busy but is graphically strong enough to attract attention.
  • Offer to write guest posts on other blogs. People often need a break and will welcome an opportunity to have a guest post with a topic relevant to their readers.

Even with the great search features of Etsy, you will get most of your business from the traffic that you drive there yourself. You may not be able to invest in advertising from the beginning but there are a lot of free ways to get some exposure and traffic, especially on the web. Find the blogs and web sites that you think your customers are reading and start approaching them to provide content. Make sure that the content is relevant and beneficial. It’s usually best to not make it all about your product. Maybe it can be a free tutorial using your product or some care information for the type of art that you make. All it takes is some research, writing and a few emails.

You have traffic, now what?

OK, so now you have customers knocking at your virtual door you need to get them to buy something.

There is nothing more important than the photography. People can’t touch and hold your item in your virtual shop so you need to do it for them. Colors need to be accurate, they need views from all sides (when appropriate), and they may need to see the item in use or to see the scale of the item.

Check out other listings that you like and make note of the photography. What draws you in? Be sure that the image is clear and lighted properly. No one is going to buy an item that is not photographed well.

Etsy allows you up to 5 photographs on a listing. Use them! You could show alternate colorways, different sides or detail shots. If you are selling finished art, show it displayed as it would look in their home.

You also need to write a good description. Two things can help here. Read descriptions of other items for ideas of what to include and then get someone to proof read it for you. Preferably you can get someone who is the profile of your buyer to look at the description and photographs.  If they have questions or anything is confusing then you know that you have something to fix.

Etsy also has regular Shop Critiques and I find them very helpful even if my own shop isn’t selected for a critique.

This is just a starting point. Once you have your shop set up plan to devote a day each week to promotion and maintenance. This will give you time to research the myriad of sites on the web that offer Etsy selling advice and to research advertising and promotion opportunities.  It’s a business and it requires a lot of work but it will pay off in the end.

Thanks Vicki! That’s some great information. If you have any questions, for Vicki about Etsy, please leave them in the comments and we’ll get you the answers or answer them in a future post.

What To Do With Felted Beads?

What To Do With Felted Beads?

I had a set of felted beads that I had made for demos for the book. Since it’s been over a year since I finished them, I thought it would be  good idea to use them for something. I had some barrette findings on hand so all I needed was a backing piece of felt. I did make one piece of felt at my felting retreat and that was it. I cut the felt up into barrette size pieces but it seemed too soft. So I soaked the backing pieces in half water and half white glue and let them dry.


So here they all are. I made 8 different barrettes, all slightly different although they all go together since the beads all matched.


This is a closer view of a spiral bead. These are made by layering your different colors of wool and then rolling them down. I also used the end bits as I thought it livened up the design a little.


I also had a few round beads. The trick to making these beads is using short fiber merino. It works like a charm and even though it’s a bit expensive, it’s worth the extra money. Short fiber merino felts so easily and doesn’t have a lot of hairiness so you get a nice firm bead in no time.


The bull’s eye beads are made by rolling up one color in a snake, then adding different color layers until you have as many colors as you want.


You can see that the layer underneath just supports the beads. I glued the beads down with a glue made specifically for fabric. It holds very well, dries clear and doesn’t take long to dry.


Here’s the back. I glued the barrette finding down as well. I ordered these online and they are the kind made in France which seem to be very reliable.

Do you make felt beads? If so, what do you make from them? I’d love to hear about different ways you’ve used felt beads and do add some photos to Flickr or in the forum if you have some.


And the Winner is… Plus Felting Around the Web

And the Winner is… Plus Felting Around the Web

I know you’ve all been waiting on pins and needles to see who won the book give away for The Complete Photo Guide to Felting. I used a random number generator. There were 58 entries and the number chosen was 49. That number corresponded to Linda Whitmore’s comment. Linda, please e-mail me your snail mail address to info at purplepomegranate dot com (I spelled it all out to avoid spammers, but write it like a regular e-mail address). Linda, I need to hear from you within 48 hours. If I haven’t gotten your response by that time, I will re-draw for another winner. I want to get the book in the mail to you by Monday at the latest. Thanks to everyone who entered the give away. I wish I had 58 books to give away so each of you could have one. It’s nice to hear from everyone, I hope you’ll comment on our regular posts more often too. 🙂

And just to make this post a bit more interesting, I have included some fun stuff I’ve found around the web in the last couple of weeks.

Tutorial for adding eyes and ears (needle felting) by krex

Information from Diane about Wool Moths

GalaFilc’s Sunflower Scarf and Bag

Bure Bure’s Felt Derby Style Shoes

Ikonium Studio’s Student Work

Jane’s Felted Geodes

Jana’s Resist Dyeing

Claire Moynihan’s Bug Balls

Plastic Utensil Sculptures by Carlos Bonil

Yarn Bombed Airplane