Silk Cocoon
I’ve been re-organising my supplies lately, and one of the things I did was put my dyed silk products into one box, and my natural undyed silk supplies in another. While I was doing this I had an idea to make a silky cocoon type pod. I had a look on google images and liked the look of ones which were more fibrey, ‘scruffy’ looking. So I started by really piling the silk on to my resist. I added a couple of bunched up silk hankies, a silk hankie I’d drafted into roving, silk throwster’s waste, schappe silk from wollknoll, different types of silk noil, some coccon strippings. I can’t find my undyed silk carrier rods, but I did find a little bag of ‘fluff’ I’d carded from silk carrier rod scraps a few years ago, so I put that on too. I did a layer of 18.5 Mic Merino on top of the silk, then on one side I lay lengths of white pencil roving. I used 23 Mic Merino for the second layer, and then 2 layers of English 56s. I do like the way it turned out, but I didn’t expect it to be so ‘neat’!
 I thought with all the silk I’d piled on it’d be a lot more fibrey, but it does have nice texture and structure and there’s a lot of different shades.
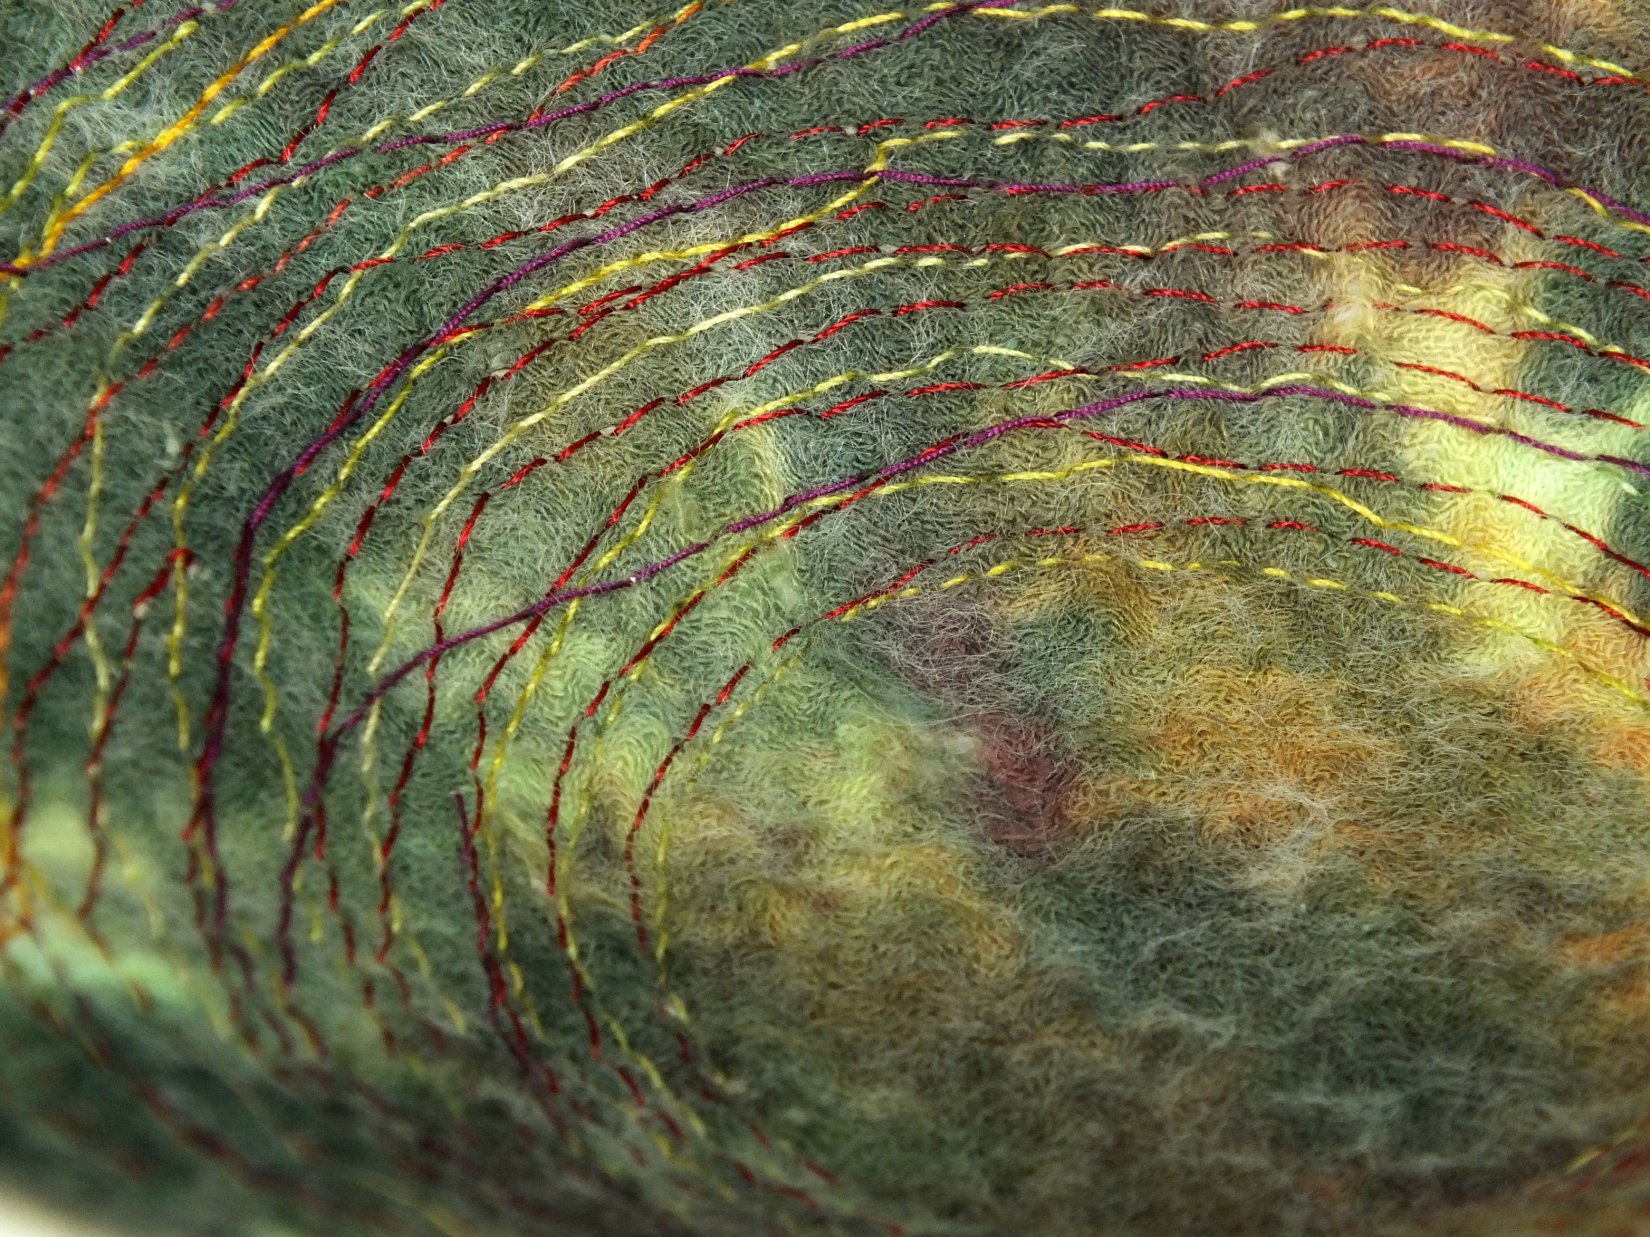
 This is a closer look at some texture:
 And this is some of the throwster’s waste:
 I wondered if some of the texture and features would show up more with a light inside, so I used a bit of sewing thread to attach it to a ceiling light to see:
 You can definitely see more, and here you can see the ridges from the pencil roving better:
 It looks quite creepy with the light in, I think 🙂