Dyeing Fabric and Fibres – Guest Post
Today we have another guest post from Cathy Wycliff (luvswool) who has recently been experimenting with different dyes.
***
Dyeing is one of the popular topics on the Felt & Fiber Forum, but I admit I was very reluctant to give it a try. I read about the chemicals involved, the need for rubber gloves and a face mask, and I admit that scared me away. But after I ordered 10 pounds of white wool (Domestic 56s), I realized I needed to do something, so–being the chicken that I am when it concerns “dangerous chemicals,” I opted for food colors, which are non-toxic and “easy to use.” The Wilson icing gels I used met both of those criteria, so I happily dyed my wool in the microwave. However, once I started wet-felting with the wool, I realized the colors bleed, even though I had followed the instructions (vinegar rinse).
That’s what led me to acid dyes, as I witnessed the beautiful results Forum members achieved through their use of acid dyes. I went ahead and ordered Dharma yellow and blue (figuring I could make my own green), and began my dyeing journey. I gathered my materials using Ruth Lane’s book “Complete Photo Guide to Felting,” even though Dharma offers instructions on their website. I just do better with photos. Not pictured are the rubber gloves and mask I wore throughout the process.
 Preparing to dye, I soaked the wool and silk according to the instructions.
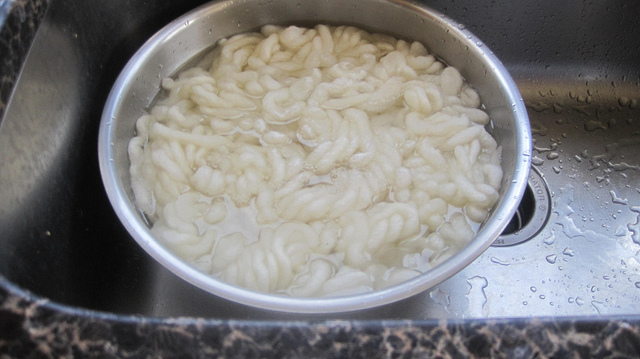 While the wool was soaking I laid out the plastic as protection for my kitchen countertops.
 I mixed the acid dyes according to Dharma instructions on the labels, double-checking with Ruth’s instructions. I used glass jars, which are fine, but I have since ordered those squirt bottles for easier and more direct application of the liquid dyes.
 Here you see the wet wool and silk, ready to be dyed and steamed.
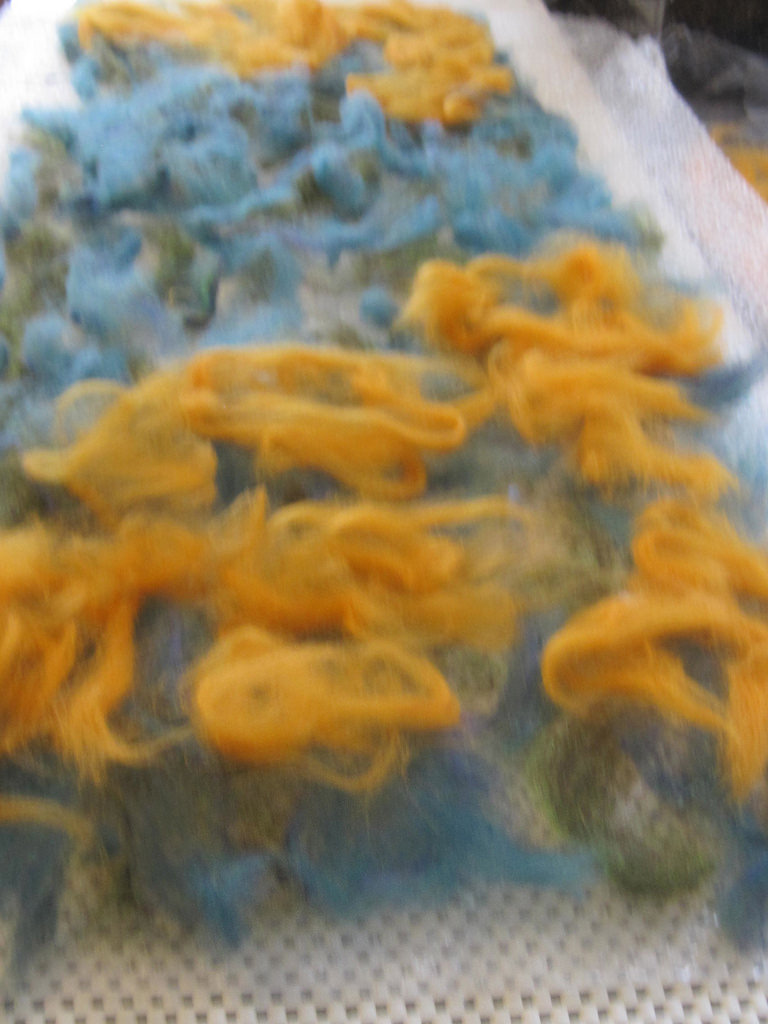
 I poured the dyes on the wool and silk, first batch, and then repeated for two other colors, mixing the blue and yellow to make green).
 Each different color of wool was wrapped separately in plastic wrap and stacked in a stainless steel vegetable steamer. Here you see my designated stainless steel large pot, never to be used again for pasta! I put in an inch of water in the pot and covered.
 I steamed according to instructions, used a soaking solution again …
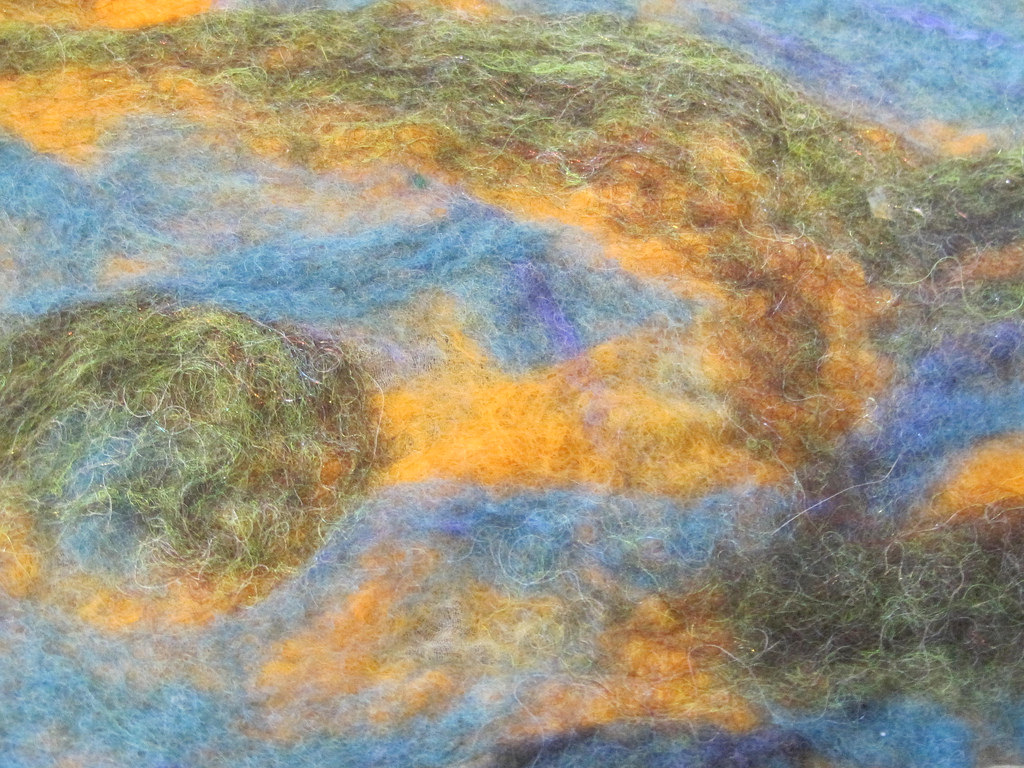
 … and rinsed well — and there you see my first packet of wool (green) laid out on plastic to cool.
 I continued the process with the blue and yellow packets of wool.
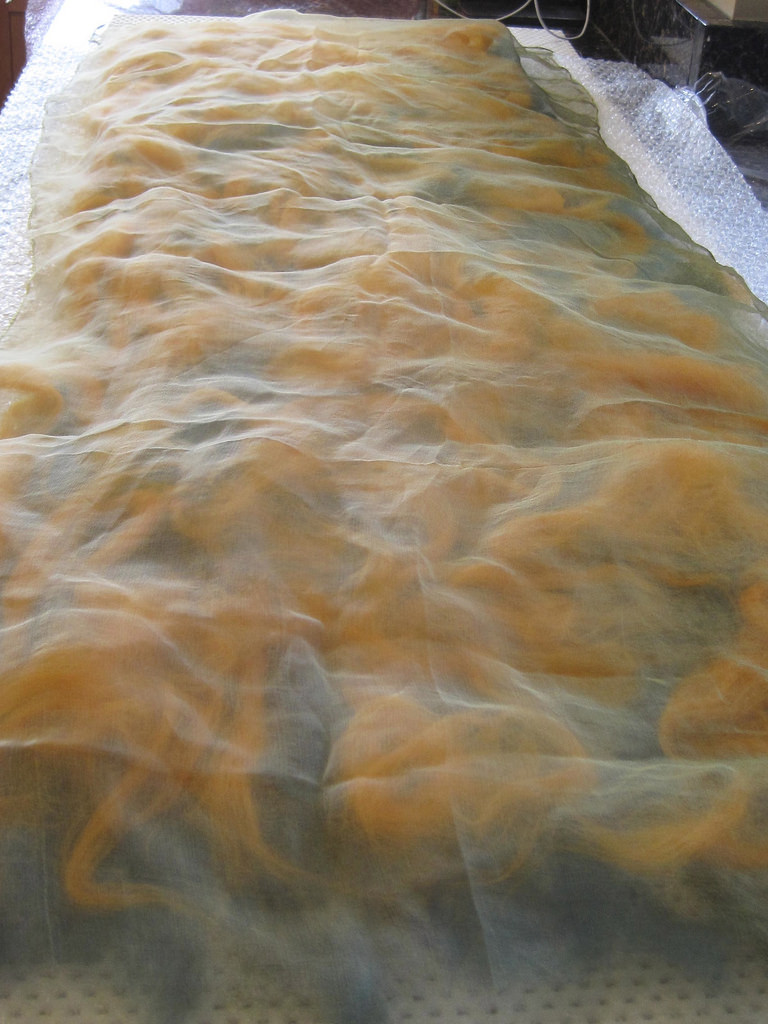
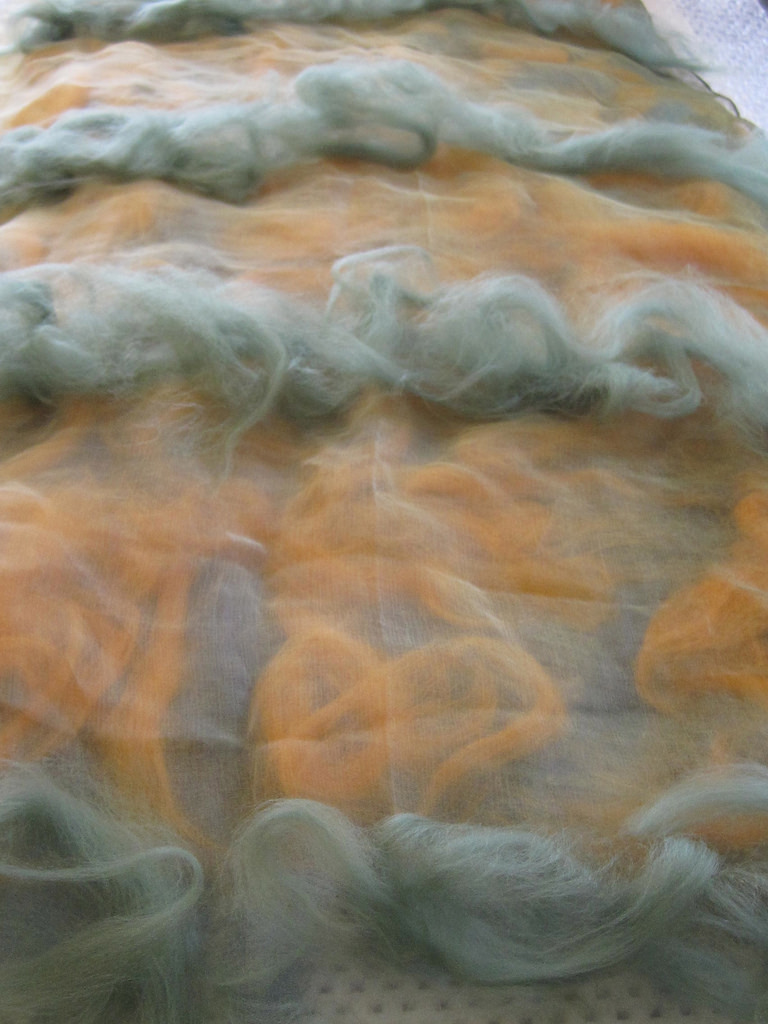
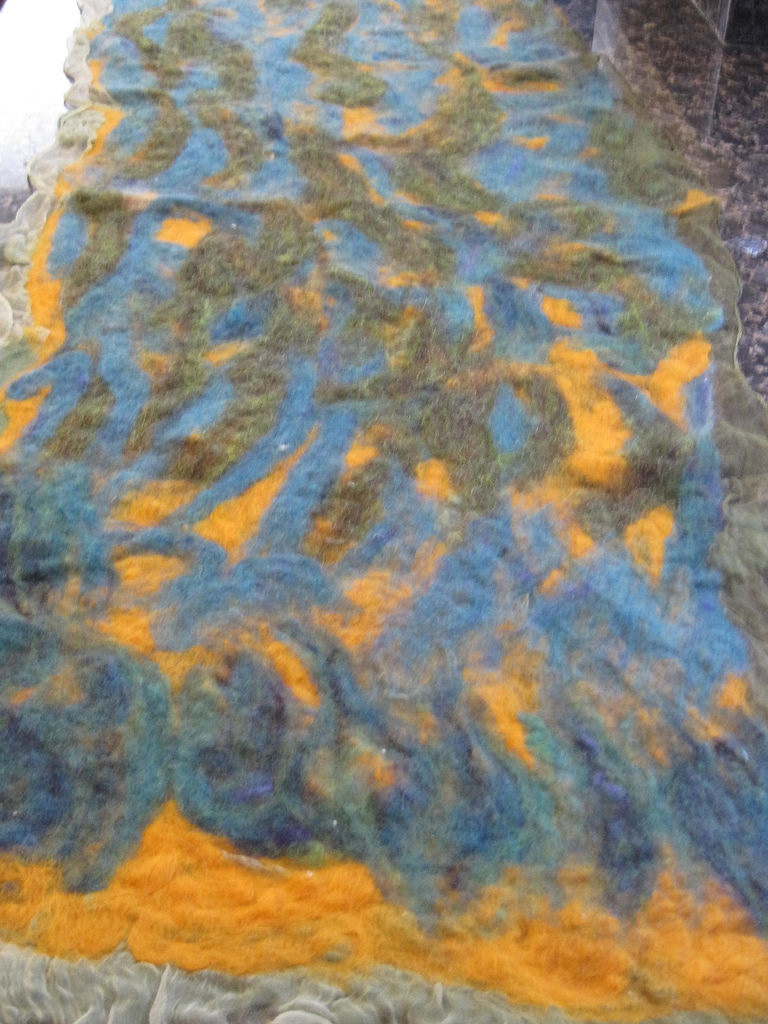
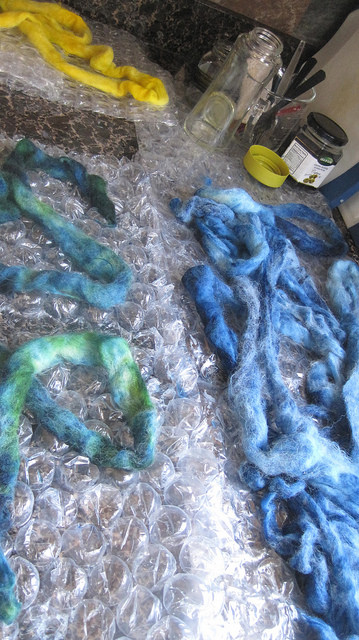
 Here you see all of the dyed, wet wool laid out to dry.
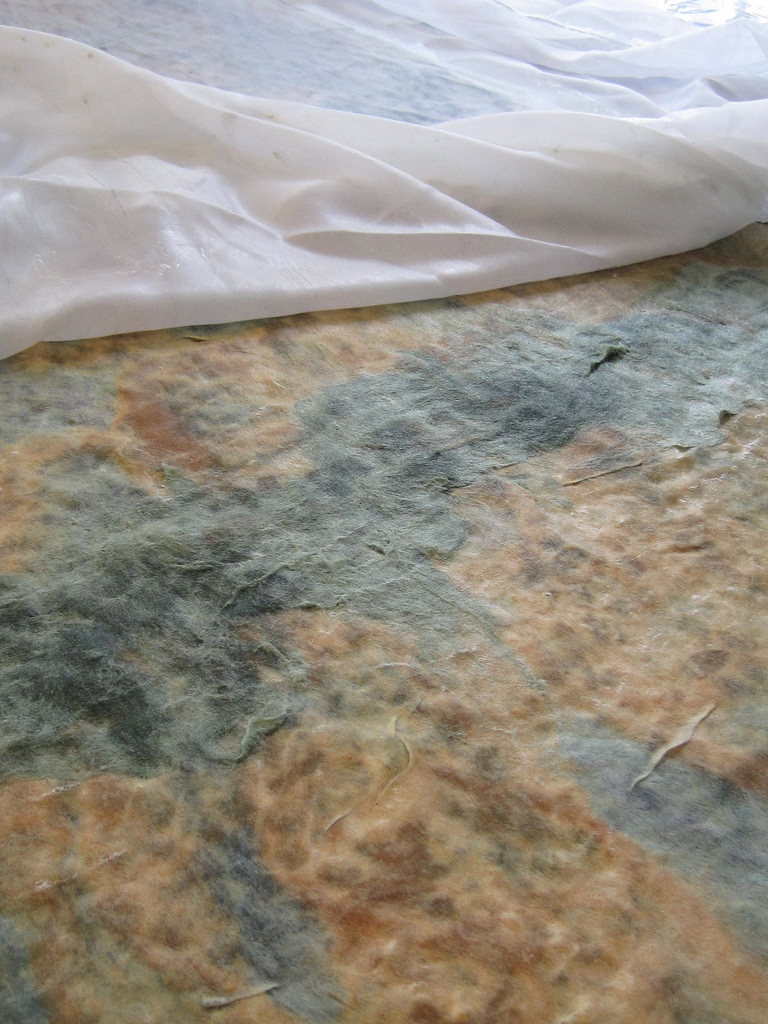
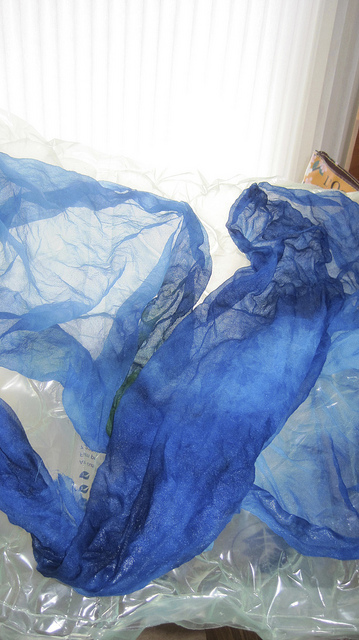
 Here you see the beautiful blue habotai silk scarf stretched to dry…
 … and the larger green silk habotai shawl as well.
 I now have a good supply of green, blue and yellow standard wool roving and pencil roving, along with a couple of silk pieces ready to be nuno-felted. Would I do this again? Absolutely!
Just received my new colors of Dharma dyes, ready to go again!