Felted Slipper Tutorial Using Ear Shaped Resist by Nada V.
Our guest post today is by Nada V. She is a forum member and had showed us a different type of resist template to make shoes/slippers. It seemed almost magical so we asked her to do a tutorial to show how the template worked. She kindly agreed and here is her wonderful tutorial.
******
In this tutorial I would like to present a step-by step procedure for making felted slippers. For a pair of slippers you will need approx. 300 gr of wool (coarse wool 31 mic) and two templates.
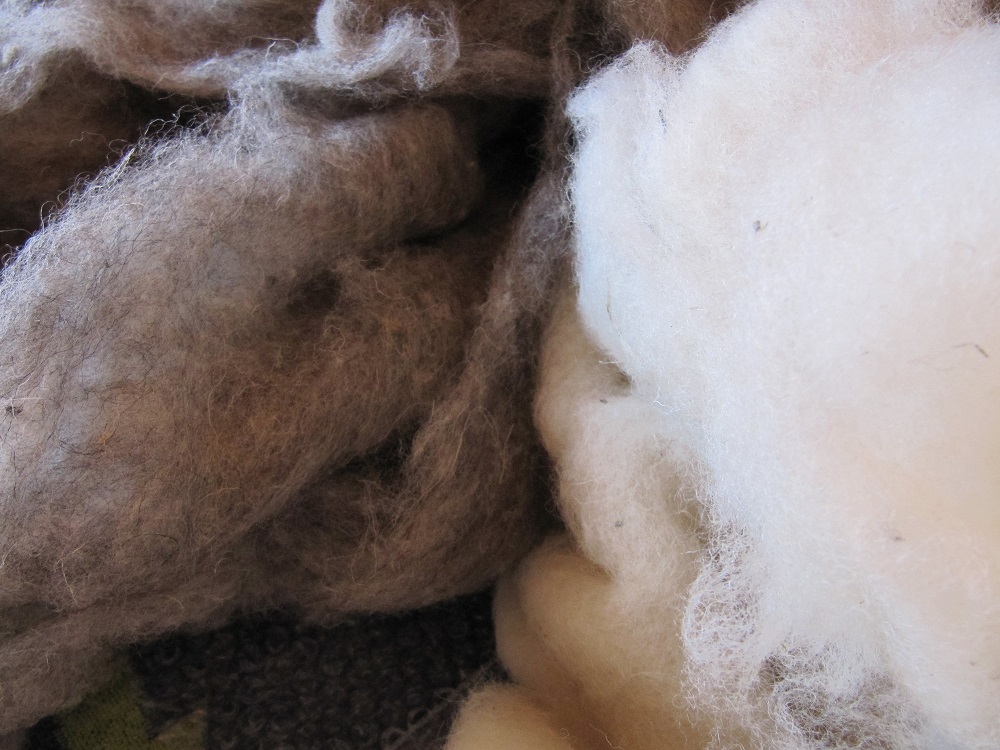
I was using local wool. It is very coarse with some rather wiry fibres.

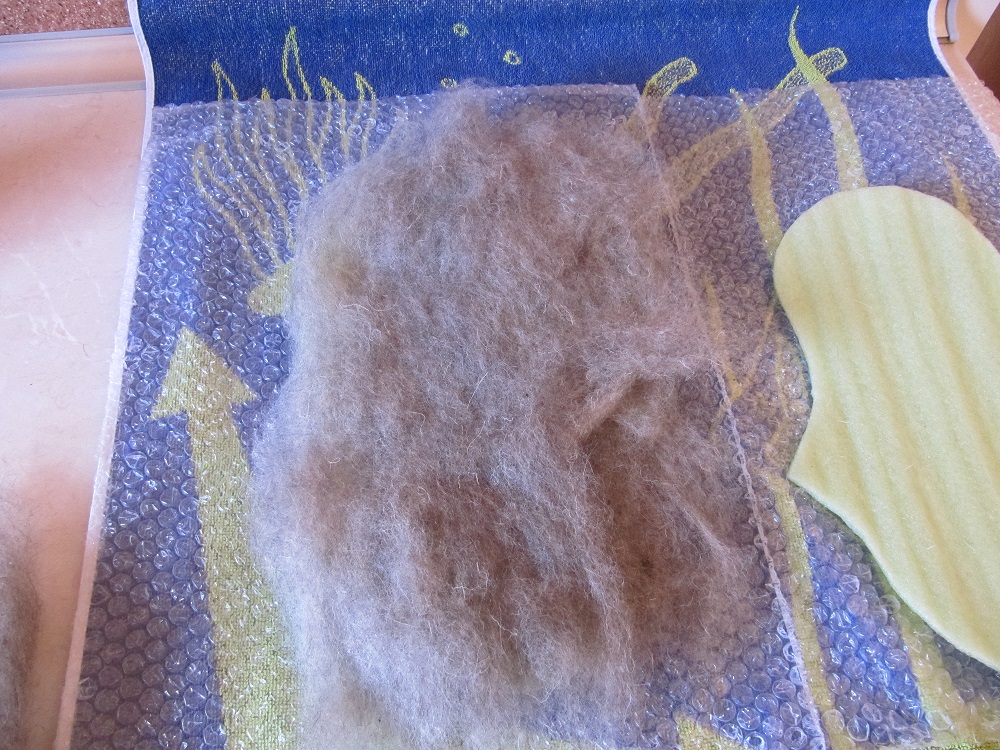
The picture of the template is shown above. You need to adapt it to your feet. I wear size 40 and this template is 31 cm long and 15 cm wide. As you may notice there are two ears on the template: one is positioned higher than the other one. The ear which is positioned higher on the template represents the inner side of the foot facing the other slipper. The size of the template also depends on the shrinkage rate of your wool. You need to consider this factor before you draw your own template.
Prepare your workplace: a towel, bubble wrap, soapy water (quite hot) which you can put in a ball browser or squeeze bottle. In dealing with coarse fibers and thick layers like in this case. There are many ways of wetting your work. I prefer to use olive oil soap which I simply hold in one hand, and a kitchen sponge in the other. I keep a bowl with hot water on the side , dip the sponge in it and squeeze the water out so that it runs through my fingers while I am rubbing soap and let the water trickle down.
Start laying out wool: make sure that you make a total of minimum six layers, each placed in the opposite directions.

Place the first layer on the template and wet the wool well with soapy water.
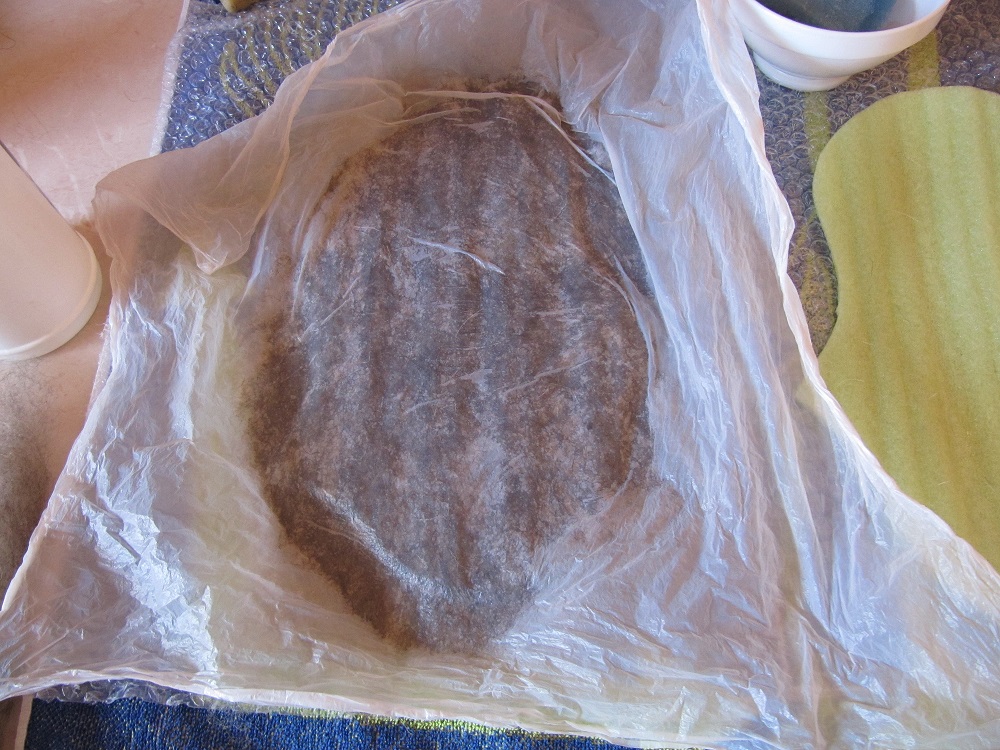
Cover your work with a plastic sheet and press down to spread the water evenly through the fiber. Do not rub, just press. This is important since some types of wool start felting quickly.
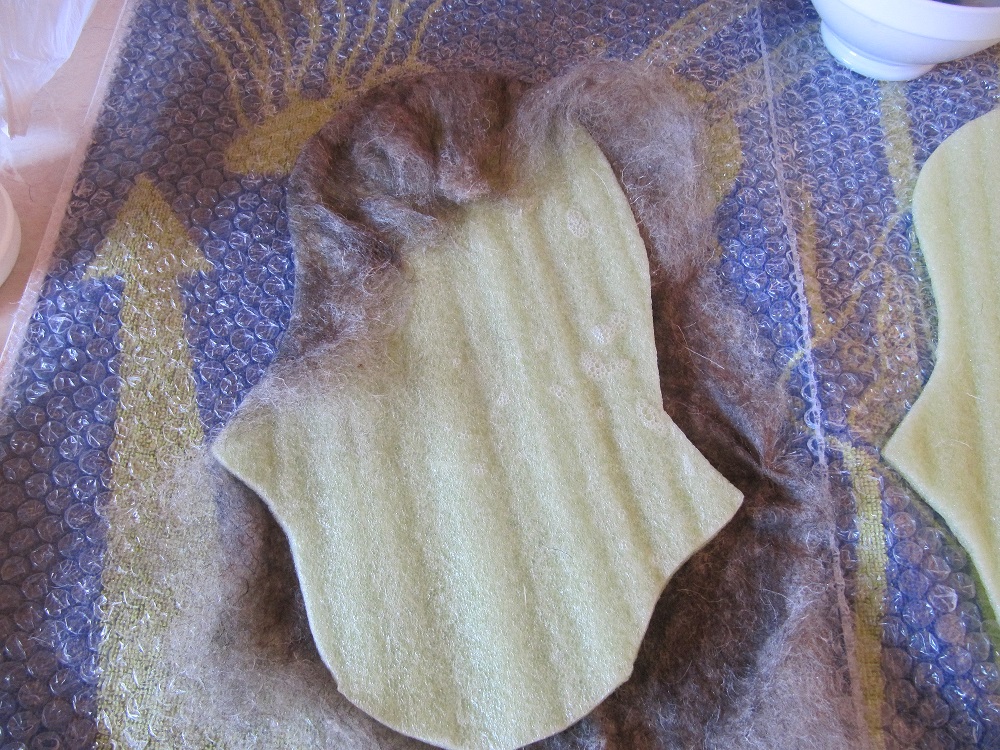
Flip the template carefully over and fold back excess wool (as seen in the picture).
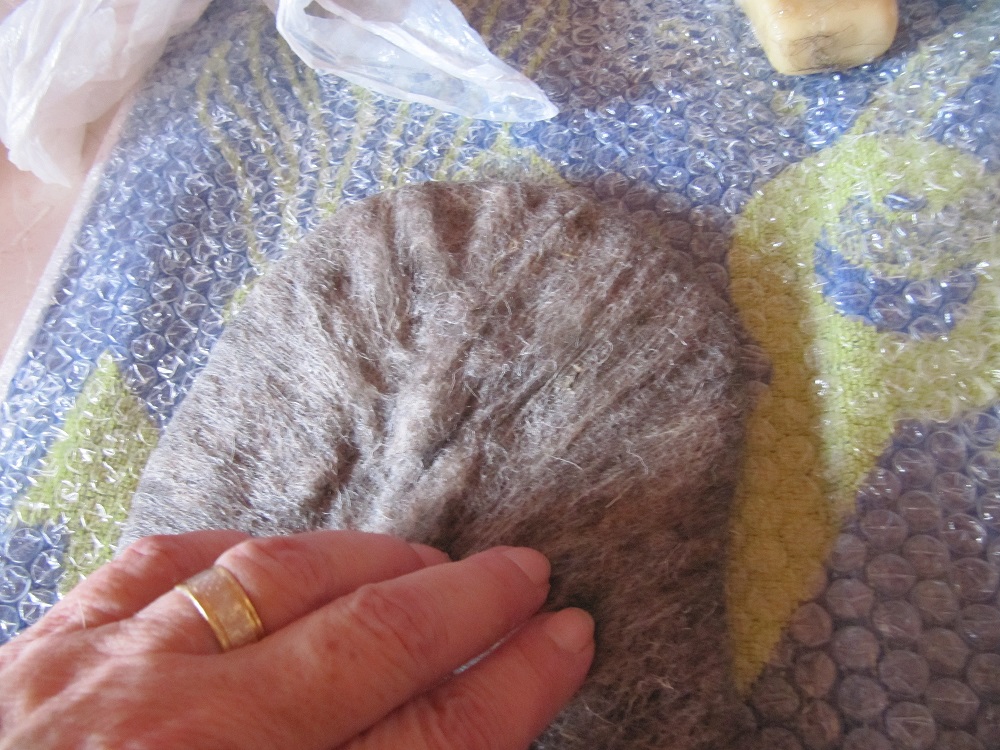
Do the same with the other slipper and continue until you have formed six layers of wool. During the process of laying wool, do not rub and felt, just wet the fibers and press them down. I try to comb fibers with my fingers working from edges towards the middle and if some folds start forming I just gently rub and straighten them.
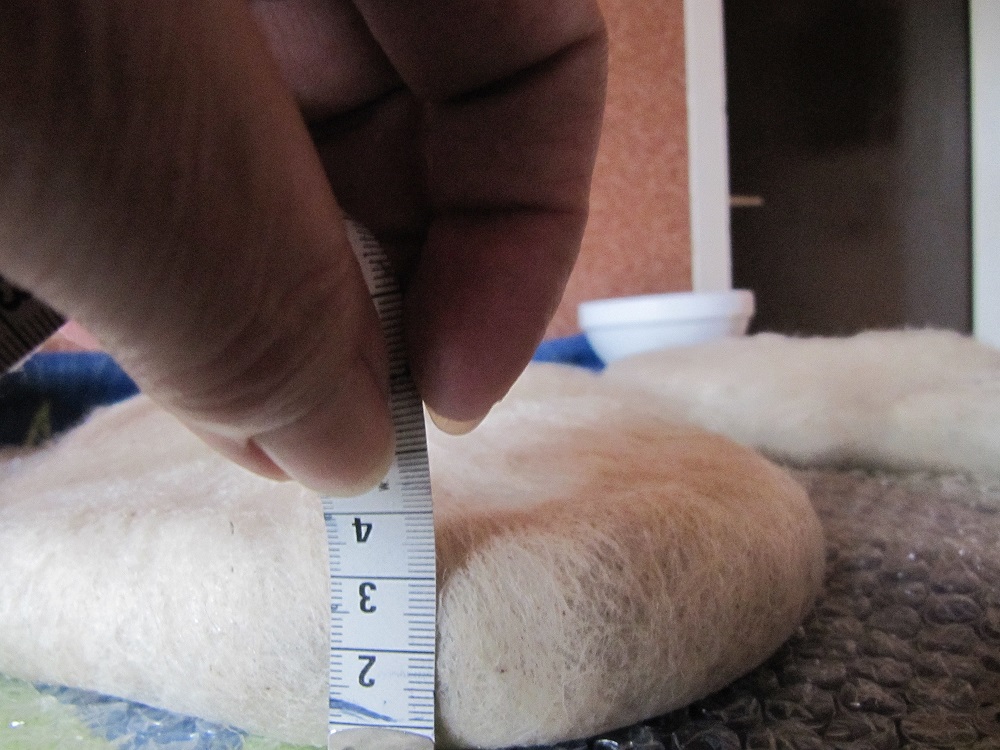
Thickness of layers is a relative thing. For this reason a good rule of thumb is that the final thickness of your work, after wetting and folding should be approx 3-4 cm ( i.e. 1.1 to 1.5 inches).
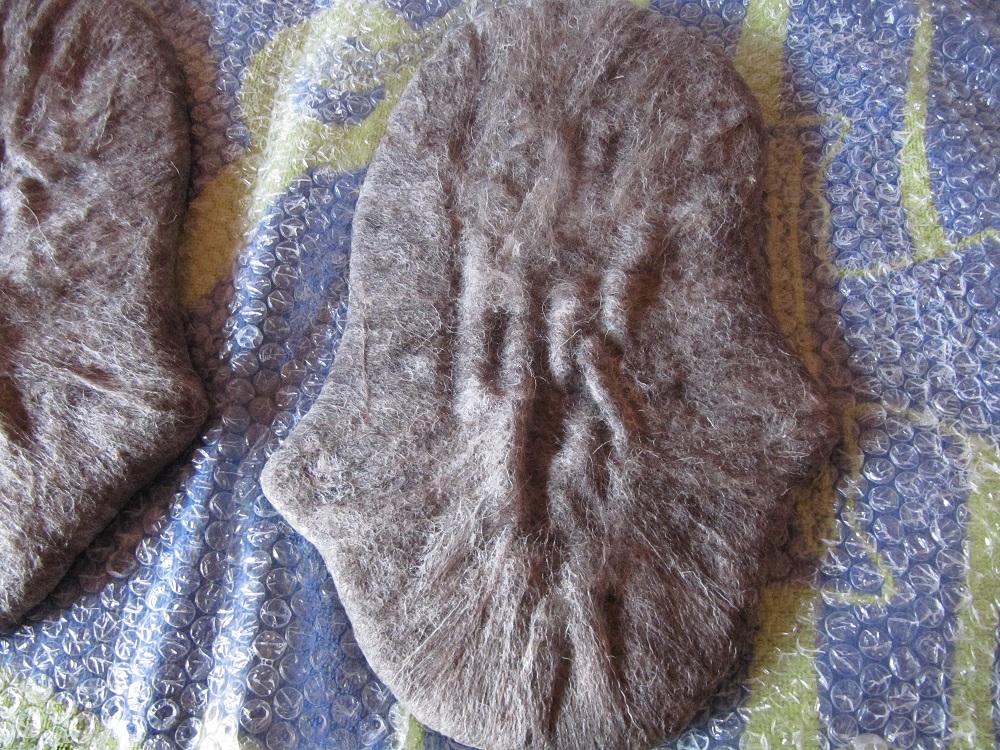
In my case I started laying grey wool (4 layers) and continued with white wool ( 2 layers)simply because I didn’t have enough white wool. After wetting you need to make sure that your templates are in the right position. Remember, the ear which is higher should be facing the left slipper from the inside like in the picture below.

Now you can start applying embellishments. Use your imagination as you wish. I used some black yarn to make branches and red pencil roving for flowers. I wanted to make sure that the flowers do not move and needle felted them into work.

After the stage of wetting the work you can start felting. During this phase I like to use a tray to catch excess water. Cover your work with a mesh and start rubbing gently the upper side where your embellishments are, making sure that they become fixed enough to the base and will not move when you turn your work over.

Turn your work and start felting on the opposite side. I start pressing gently, increasing the pressure as I proceed. Be prepared for long felting. Even though my wool felts well, the total time I spent on felting was one hour which is because the layers are very thick. (Those of you who are using a sander may perhaps complete this stage in shorter time, I’m not sure). Always work from the sides towards the middle thus making sure that you don’t lose the shape. If folds start forming in the middle, rub them gently in circular motion and straighten them. During work it may happen that there is too much water, and of course, our slippers must not swim in water. From time to time I lift my work and drain excess water and continue adding hot soapy water for rubbing as necessary.
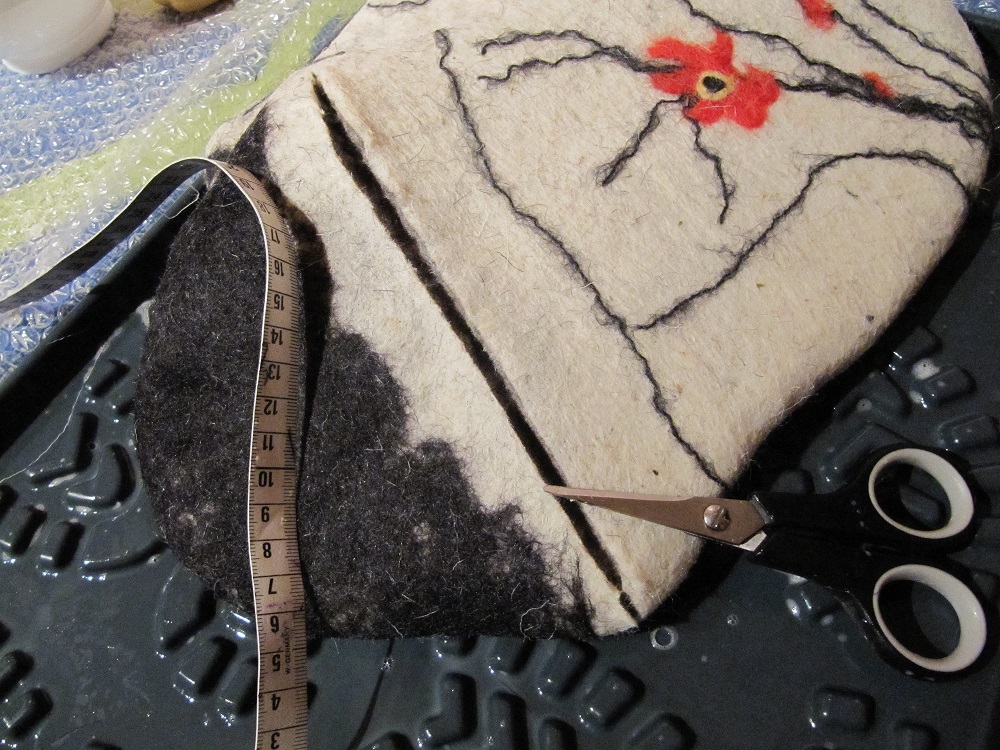
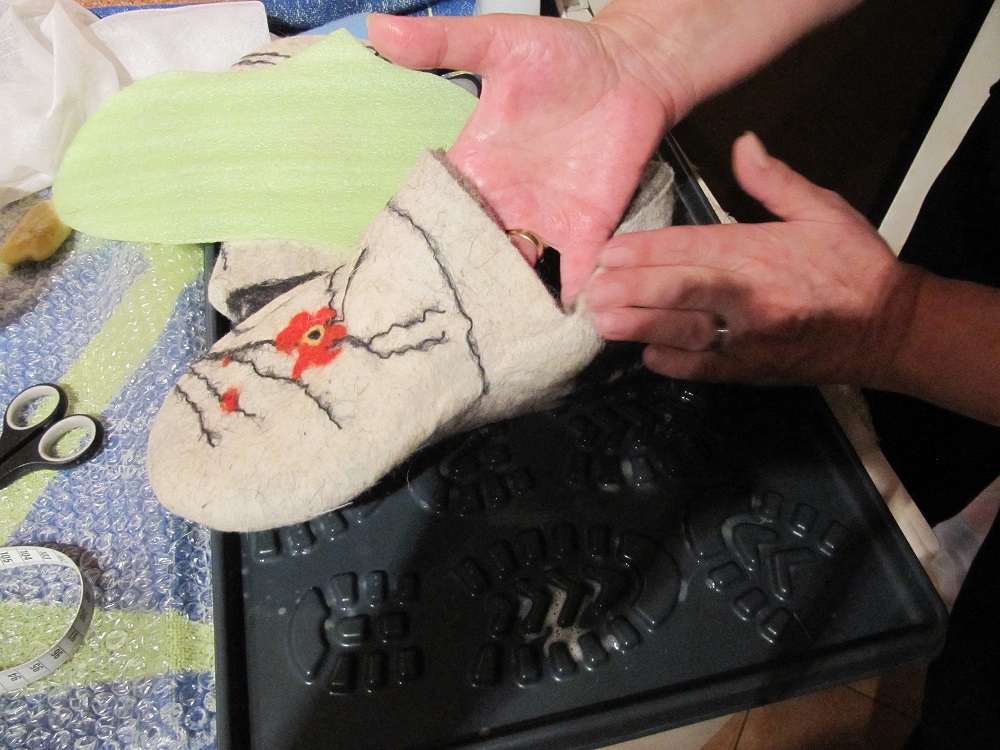
When you have a feeling that no more felting is needed and that your felt is stiff enough take sharp scissors and make a slit across the slipper – from the tip of the ear to the opposite corner, as shown in the picture.

Remove the template.

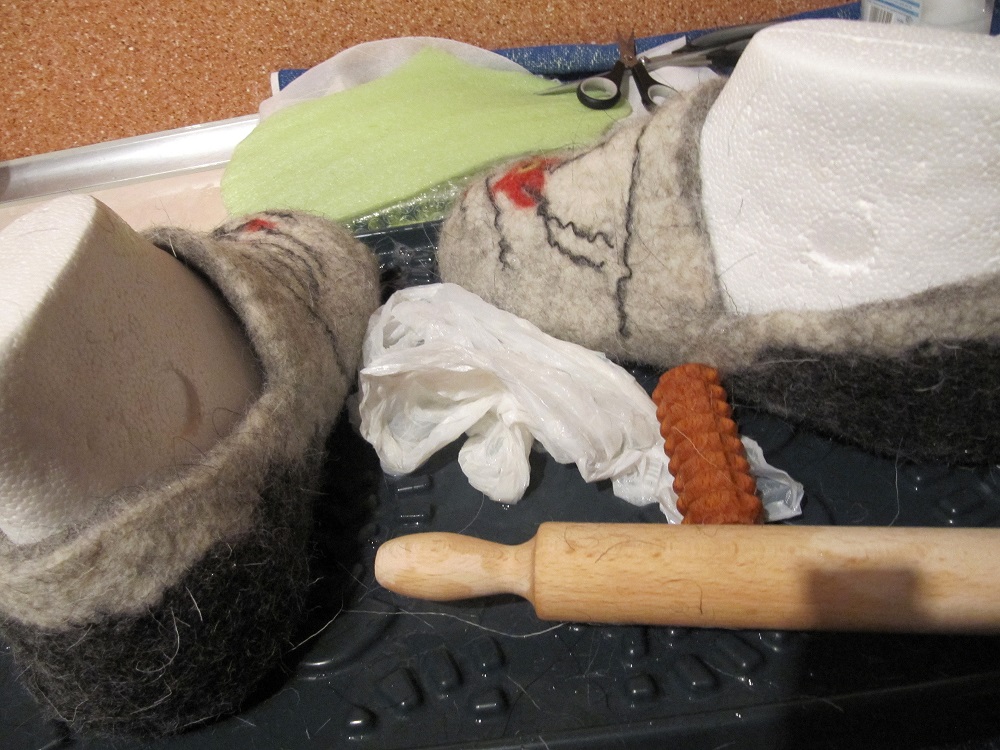
Don’t be frightened when you see that you got a large shoe. In the following stage you need to work on shrinking the slippers.

I like to rub the edges of the opening first so as to avoid separation of the layers on the edges.

Transfer your work to the sink and soak it in hot water and squeeze the water out. Shock your felt with cold water and squeeze the water out again.

Move your work to your tray. Use more soapy water and start rolling and kneading your slippers so that they start forming a real shape. You don’t need to be gentle at all. Roll and knead them in all directions so that they shrink evenly. This may take you quite some time.
Rub them inside and outside.

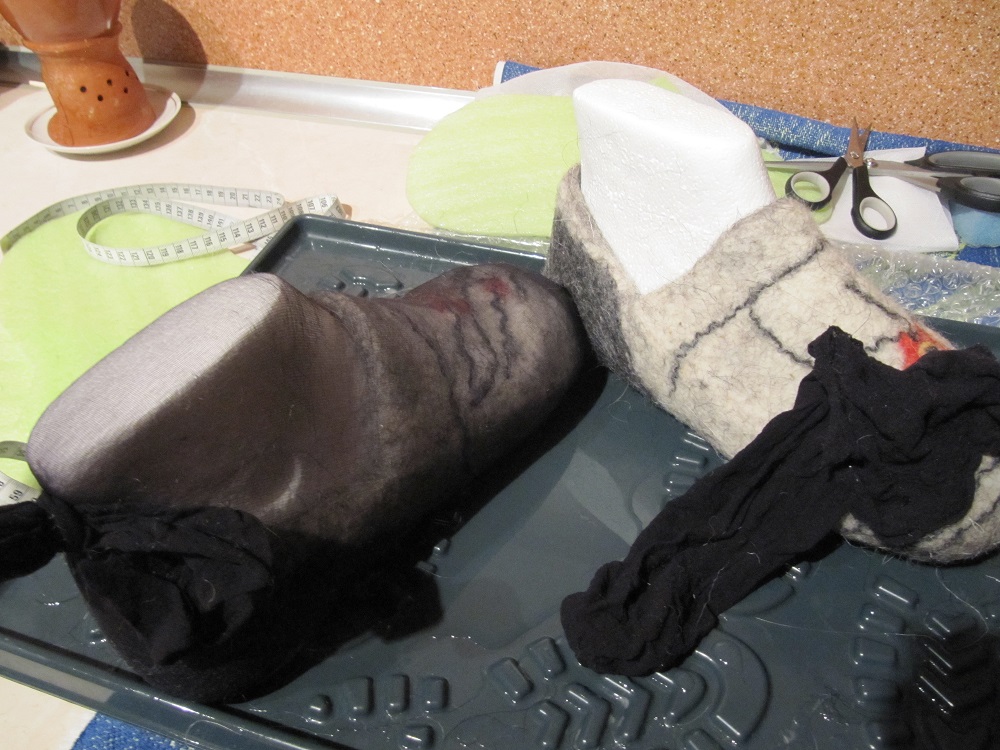
If you think that the felt is not shrinking enough, apply the shock treatment again (hot and cold water). In my case I applied this shock therapy three times. Use your hands for shaping a shoe-like form and only when you feel that you are close to the final shape and size, take a pair of plastic or styrofoam lasts if you have them, otherwise you need to complete the work with your hands.

I bought my lasts from Wollknoll Germany at a reasonable price (8 EUR) and think this was a good investment.
Use any tools that you normally use for fulling. I was using a roller pin for pounding (spanking) and a small roller for rubbing and straightening the surface.
When your slippers completely fit the last, take an old pantyhose and pull it over your slipper and tie a knot so that the slippers cannot move during machine tumbling.
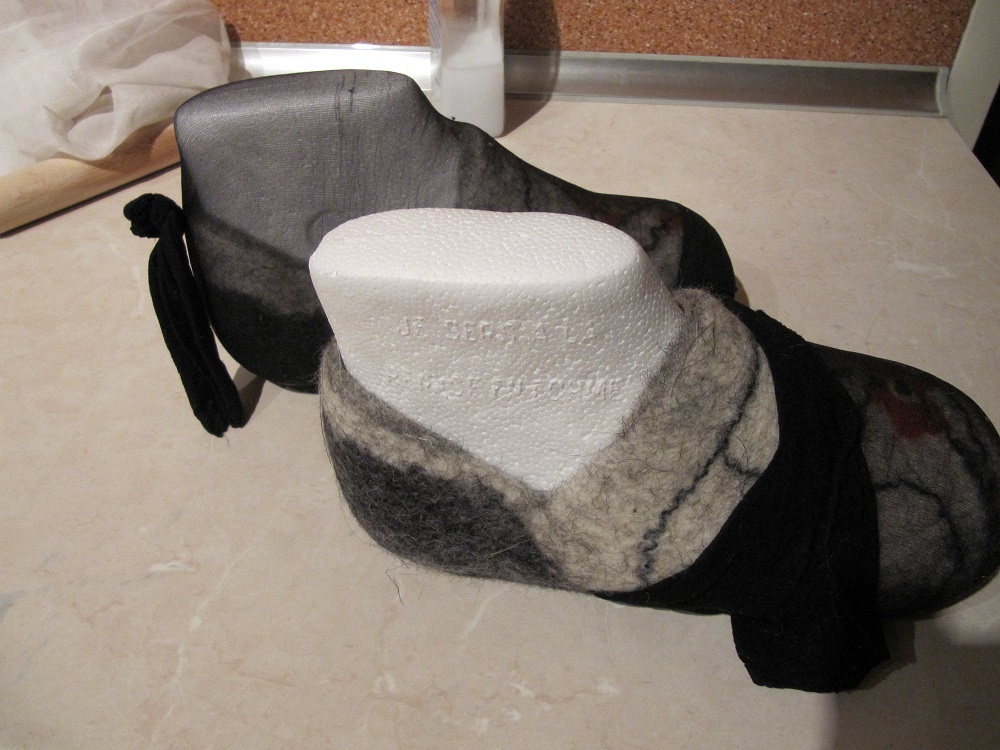
Put the slippers into your washing machine (300C if little shrinkage is needed or 400C if you feel that more shrinkage is needed). I use the programme for delicate washing with short spinning. Remove the last and let your slippers dry.

This is what you should get in the end.

If you look carefully you’ll see how hairy my slippers are. Our wool is really course and some sharp fibres are sticking out. When the slippers dry up, I’ll simply shave them. To completely finish the slippers, attach a sole (I like to use leather) and voila, your new slippers are ready. This project will take a whole afternoon to complete. It is a lot of work but you will enjoy the result. It took me five hours in total.