Adventures in colour (Part 1).
Ions ago, I purchased all the bits and pieces that I needed for acid dyeing. I never lost my enthusiasm for it (in principle!). I listened to my textile friends waxing lyrical about dyeing. If I am to be perfectly honest here, I lacked both the knowledge and the confidence to try it. So when I came across a dyeing course which was being run over the four Tuesdays in November, well, I didn’t have to think twice, I immediately booked it. The workshops were run by an Irish Textile Artist and all round nice person, Sharon Wells (https://www.sharonwellsart.com/). Sharon provided all the equipment and fibres but mentioned that we were free to bring along any fibres we wished to experiment with over the course of the workshop and of course our limitless curiosity!
Week 1:
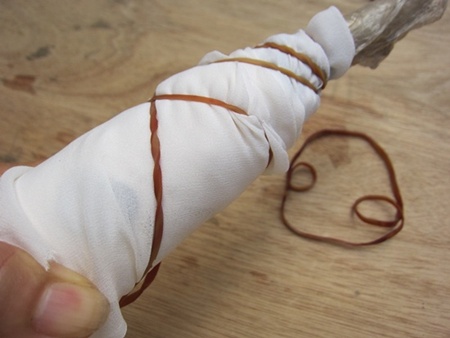
During week 1 we worked with Jacquard Acid Dyes. Once Sharon explained the basics of what would and would not work with these dyes, she set us to work, initially teaching us how to secure hanks for the dye pot. We were each given our own pot to work with. Then we got down to the fun work of choosing dyes, testing fibres and dyeing.
Our first experiment was with solid colour. We each threw a variety of fibres into our respective pots and got to work. It was great fun watching as the colours developed. I had chosen orange for my first test and it was just so exciting watching the different hues develop. I have prepared short slideshows of the results of each of the experiments over the four weeks. Details of the fibres are included in the captions.

Kerry Mountain sheep – I carded the dyed sample which was a mistake as it blended all the lovely colours 
Silk yarn which I bought in the Silk weaving shop on Granville Island Vancouver 
Chunky woollen yarn, I don’t know the breed but I love the range of colour! 
Locks again I love the way the dye has taken here 
Three plant fibres. Not sure which is which but we have nettle, viscose and rose 
This was given to me to tie my samples and I thought I would dye a sample. There’s definitely some wool in the yarn
Next, to some of my fellow participants horror, we saw Sharon cut into an old shrunk felted jumper. We were each given squares and shown how to randomly sprinkle the dye powder onto the surface. This time we used a minimum of 3 colours on the sample. Once prepared it was popped into the dye pot and other fibres were thrown in not to waste the dye that came off the sample. Here are my results.

Front view A cut off a felted jumper. We sprinkled various colours of dye powder on this before it went in the pot 
Back view of the sample 
Various locks: I love the way the colours took 
Kerry mountain sheep breed: this time I did not card it so we can see it unblended! 
Yarn: variety unknown 
The chunky wool yarn which I threw into a different part of the pot
By this stage we were all getting really excited. This was like alchemy or as one of us said, witchcraft (which is possibly a more accurate description as we all gathered round one of the cauldrons (yes there was one, the rest were pots)) and saw the reactions of the different coloured dyes we were adding to the pot full of fibres. We were learning (among other things) how to control where the differed colour dye permeated the fibres and how the colours mixed throughout the process. Here’s what I produced.

Industrial prefelt I tie dyed it for a bit of fun. Gorgeous results! 
Kerry mountain sheep. More exciting colours 
Locks from the same pot 
Front view: Silk fibre. I can’t help thinking about Hubble when I see this photo! 
Back view of the silk fibre 
Nettle: same pot 
Front view: Merino 19 micron roving (tops). More Hubble vibes coming through here 
Back view: Merino roving (tops)
Week 2:
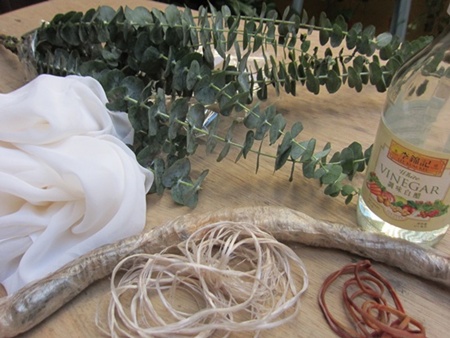
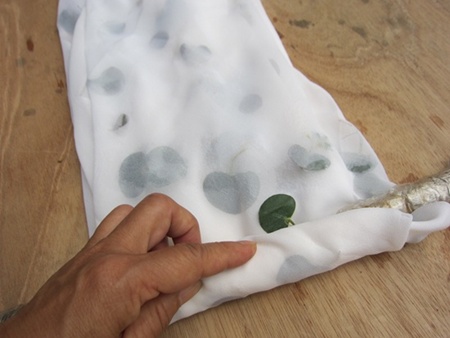
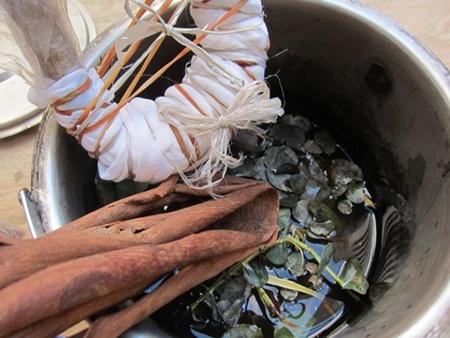
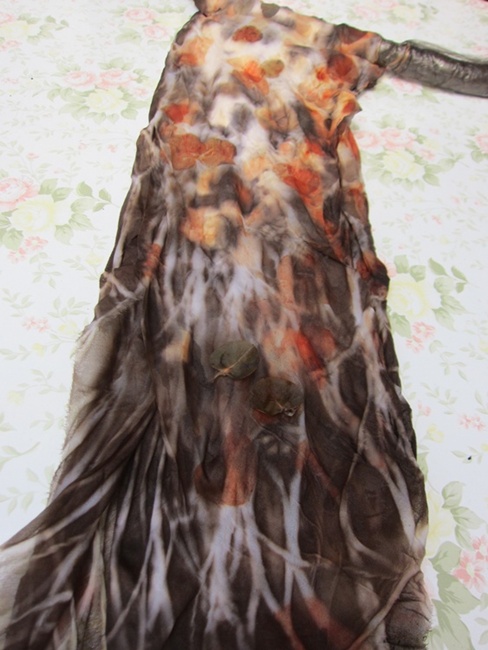
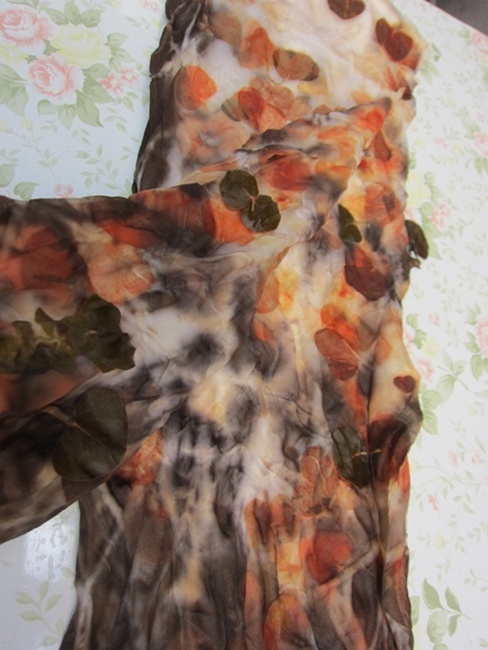
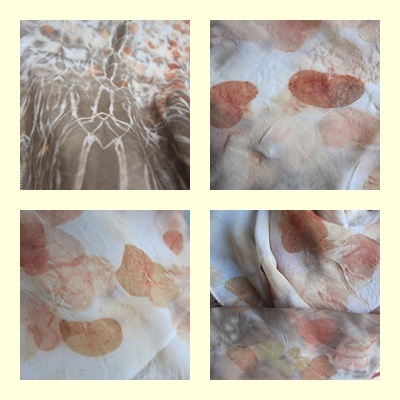
It is amazing how disciplines have their own languages. Mordants; fugitive colours; substantive dyes – Sharon quickly demystified all the terminology – a real confidence boost – then she produced a vat of fibres which she had been seeping in the mordant for some days. She also gave us a variety of pots which we could work from. Then came the fun ‘show and tell’. Sharon had been growing and collecting various flowers and plants over the summer months. She dried these especially for the session so we each got one to work with. We had dried containers of marigolds, rose petals, sunflower petals, sunflower heads, and ground up nettle. I got the nettle to try. One of the participants opted for fresh eucalyptus. We set pulling the dye out of the plants, straining it and then to dyeing our fibres. Here’s our progress and the results:

A huge vat full of mordanted fibre Aluminium sulphate steeped for a few days in preparation for the course 
The ground nettle which was dried over the summer 
Dried roses, the dye produced a lovely perfume 
Rose petals produced a really exciting pink colour dye 
the lovely colour extracted from the sunflower heads 
Here is the sunflower petal dye the final results were vibrant 
The straining stage for one of the dyes (sorry can’t remember which one!) 
Loki oversaw all work and every now and again figured his new friends should stop for play 
Everyone’s finished work laid out in the sun to dry 
Result from dyeing with the dried nettles. Not very exciting 
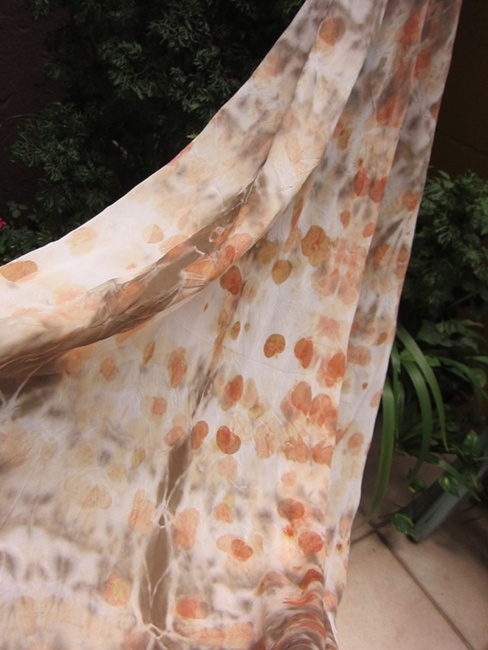
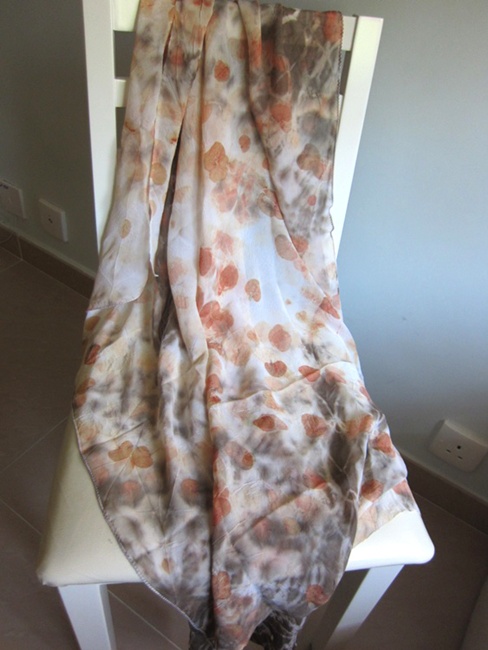
The marigold petals produced a delicate creamy result which differed in shade depending on the fibre used 
The gorgeous results from the dye extracted from the sunflower petals 
Lovely shades of yellow from the Sunflower heads 
The pink was lost during rinsing which was a bit disappointing 
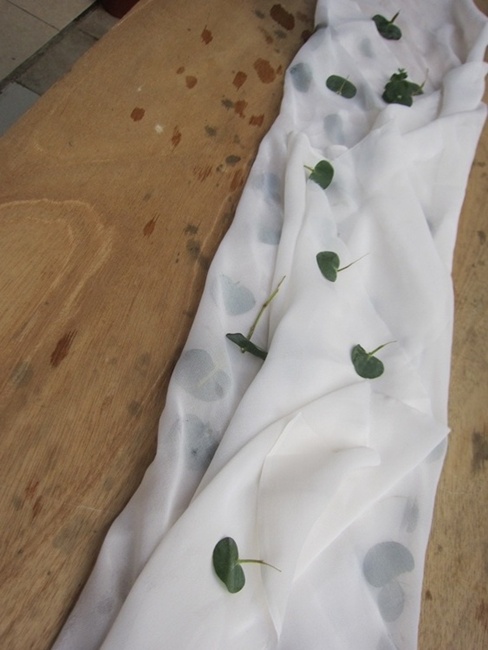
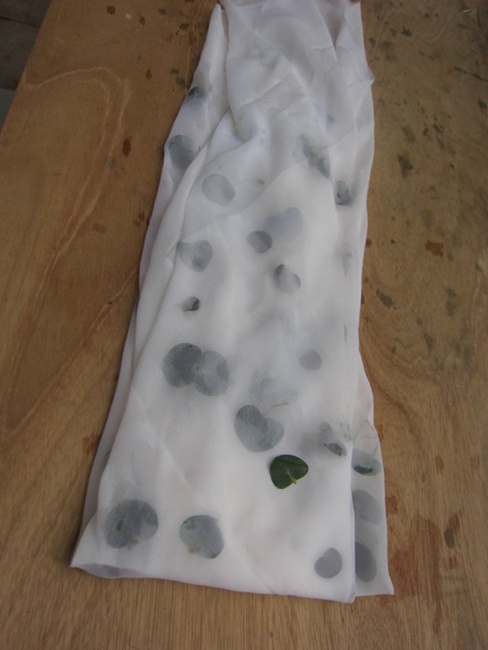
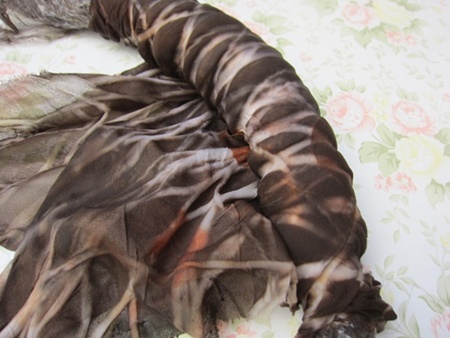
The fresh eucalyptus produced a delicate green/yellow result which differed in shade depending on the fibre used
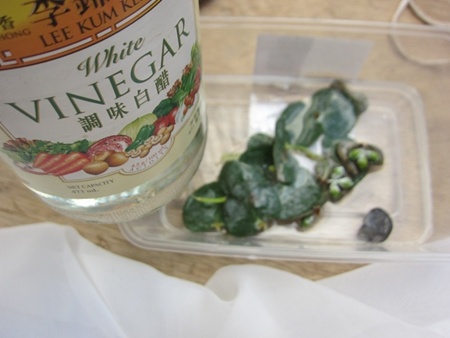
Then as a further experiment we took dye from a couple of the dye baths and added different components to see how the dye reacted. We used tin, chrome copper and vinegar. The results were surprising.

middle L/R vinegar, tin, chrome, copper
Bottom is the Sunflower petals
I was disappointed with the colour of the nettles which were a murky colour. Also the powder from the nettles made the fibre really grainy and unattractive. I thought I would see if I could use fresh nettles from the garden. Sharon had offered me some mordant to bring home for this experiment and like an idiot I forgot it. So, based on an earlier comment she had made during the class I decided to try using aluminium foil as a mordant. I steeped the fibre overnight and made up the dye which I strained. Then I dyed the fibre. The result is a beautiful soft green which I am very pleased with. I am not sure that the mordant took as only time will tell if the fibre loses its colour but it did not happen when I rinsed it. The grains from the original nettle powder were still scattered throughout the wool fibre so I took my carders to the Kerry sheep fibre. Although I have yet to be convinced that natural dye is an avenue I want to pursue further I really enjoyed the day and the learning.

A sample of the nettle dye from the fresh nettles 
Overdyeing with the fresh nettle dye. I left it to cool in the dye pot overnight to give it the best chance Result from dyeing with the dried nettles. Not very exciting 
Final result with the fresh nettles lovely shades of green. photo taken before dyeing 
The final result for the fresh nettle dye. I love the variety of tints!
I have so much to share from these four weeks that I will save weeks 3 and 4 for my next blog post. A million thanks to Sharon for facilitating such an interesting set of Tuesdays last November.