Tutorials and E-Books
I was trying to think of a topic I hadn’t posted about lately, so had a quick look back at some of my old posts. I came across a couple talking about writing tutorials, but couldn’t decide which one to use as a “Throwback Post”, so thought I’d combine them for a bigger picture, and for those who missed them the first time round! I’ve altered the wording slightly here and there so they fit together better.
In June 2013, I was working on my Polymer Clay tutorial, so I thought I’d do a post about what goes into writing tutorials or e-books. Looking at a really good one, you’d be forgiven for thinking that it’s pretty much just getting someone to take photos while you go through the stages, or at the most, stopping to take photos if you’re doing it alone. Then just adding some text to the photos in Word. Ah, if only it was that simple 🙂 Sometimes the shorter ones can be straightforward if it all goes well, but even then there is usually lots of photo editing, cropping, resizing, etc. and rewrites of the text.
So, what does happen? Well we probably all do it a little differently, but usually I start off with a rough idea, a few things jotted down, then write a brief outline of what I want to include.
 I’ll type this out onto Wordpad, then start to give it more definition, separate it into sections then add info about the content I want in each section. I usually do a copy of this new outline with a list of all the photos I need to take for it or sets of photos, then print it out and start on the photos.
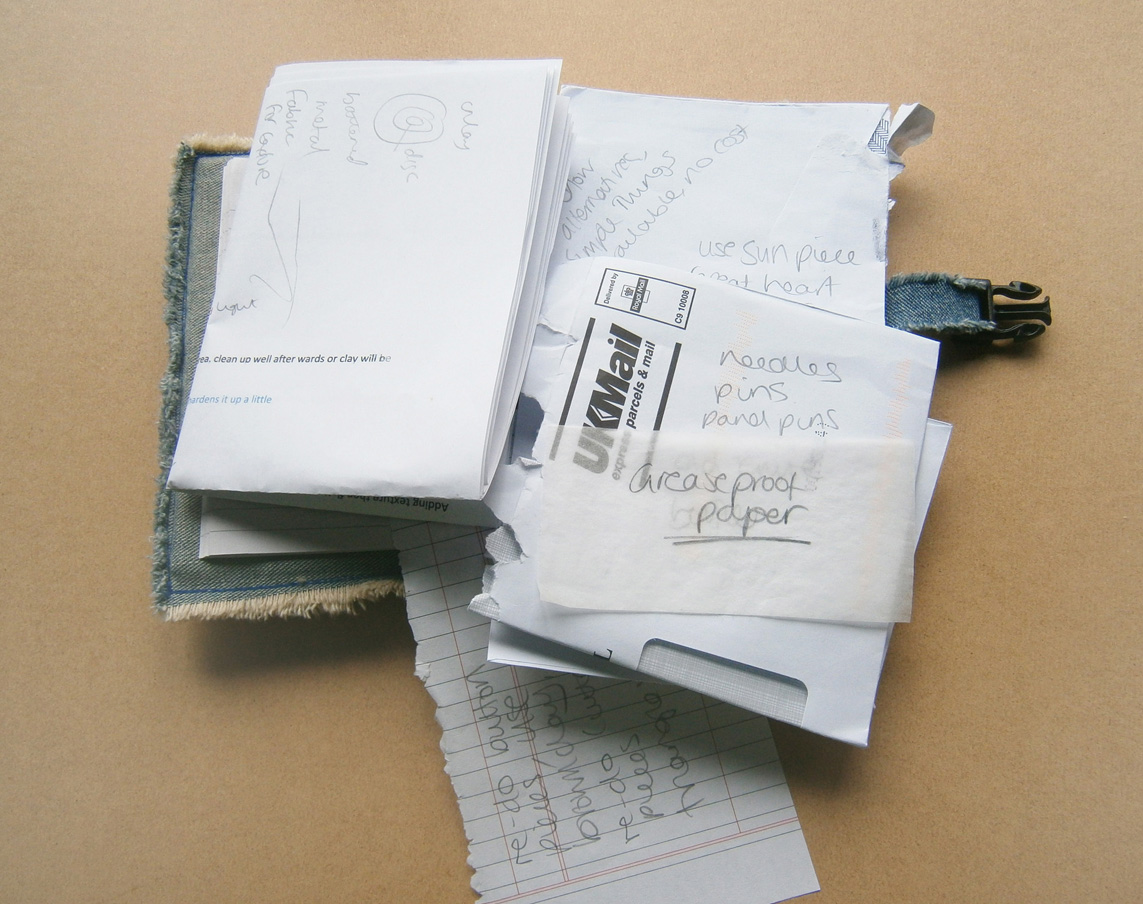
 I’ll probably re-print the list quite a few times as I work through it and change my ideas. I like to keep a notebook close by when I take photos because I usually end up with ideas for something else I need to include or an idea that will help make another set work better. Also it’s good to take notes about what you’re doing in the photo and at certain stages because it will help to explain the process more clearly.
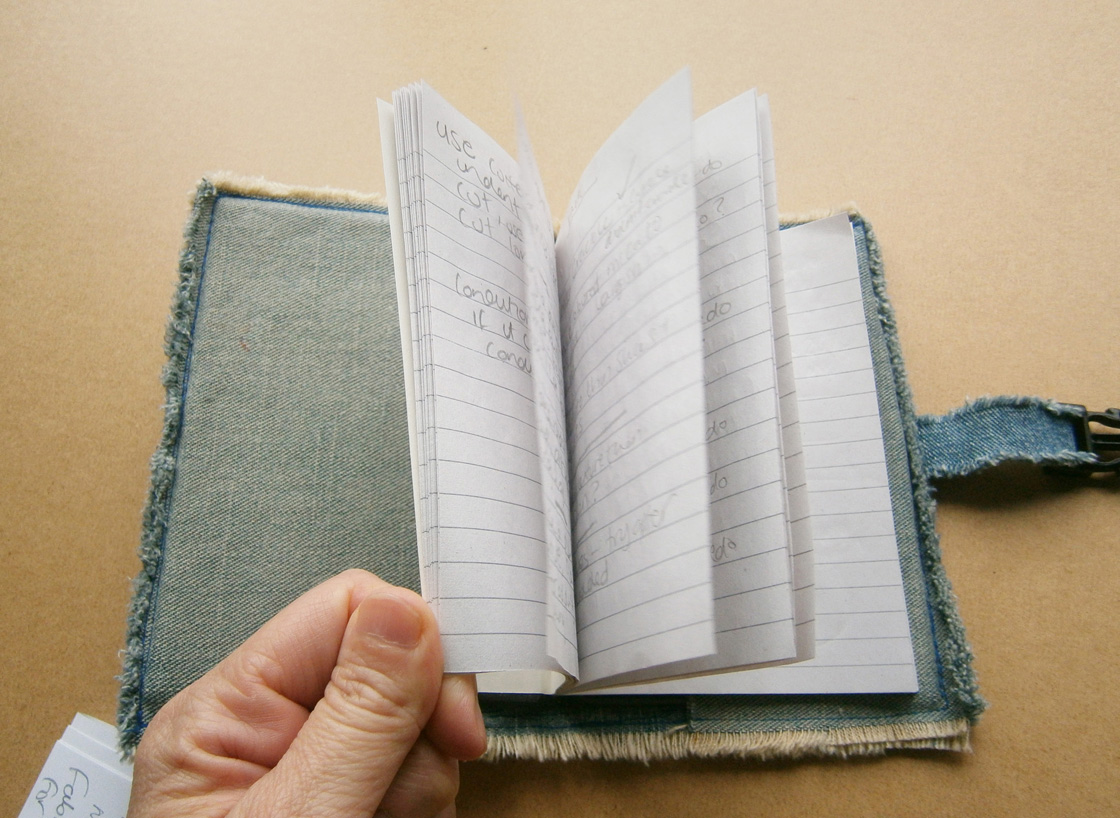 Even when I’m not actually working on the tutorial, something will pop into my head, so I usually end up with lots of loose pieces of paper with little notes on. It’s like one idea inspires others and you can’t see how you can leave something out without it seeming incomplete. I thought from the original idea for my Polymer Clay tutorial it would be several pages long and just take a few days to do with careful planning, but by the time I wrote down my outline it was already turning into a mini e-book!
 Once all the photos have been taken, the most laborious part I find, is going through all the photos…deleting blurry ones first then going back and looking through the rest carefully to choose the final ones. And if you’ve ever taken photos of felt or fibre, you’ll know it usually takes a lot of photos to get the one good shot you need 🙂 I then usually make duplicate folders for resizing. It isn’t unusual for me to have 4 duplicate sets all at different sizes.
 When it comes to the writing, I usually start by simply describing the process, trying not to overthink it, and use the photos to illustrate this. Then I pester anyone and everyone to read it through for me, it’s really good to get the opinion of someone who hasn’t tried what your tutorial is about, they can ask all the questions you need to answer but might have missed. Once the first draft is finished, I’ll probably ask Ann, Ruth and Marilyn from the studio site and Lyn from the forum to read through too, it’s good to make sure it’s understandable to people all over, and that there aren’t any words or phrases that are unfamiliar, even to English speakers. It’s strange the words we take for granted that are often questioned. Once I’m happy with all the words and pictures, I work on the layout. That’s where the duplicate sets of photos come in, if a photo used in the tutorial only needs to be small and doesn’t show any detail, using photos of smaller dimensions and file size can reduce the overall file size of the document and subsequent PDF. The finished ‘tutorial’, ended up as an e-book called ‘Polymer Clay Simply Made‘
 It doesn’t matter how many times I write a tutorial, and many people will understand this, I always massively underestimate how long it will take. Actually, the underestimation probably increases each time as I think it should be easier/quicker having done it so many times! I started writing a new one in March 2017 on how to make one of those soft, wispy, scruffy, colourful pieces of felt everyone seems to love. We make them in about 45 minutes in classes, so I thought I’d just need one day to take all the photos, except my camera battery died after the layout photos. I probably won’t need all 120 photos, but I like to be thorough! This is the photo of the finished layout:
 Luckily, it was bright enough the next day to finish off felting and get the rest of the photos done. This is just before it was rolled in a towel and left to dry:
 I don’t know about anyone else, but when I take photos for tutorials, I jabber on to myself in my head, giving a running commentary on what I’m doing. I suppose I’m talking to ‘the reader’, so I can make sure all the steps are covered and I don’t miss anything out. This was going really well while I was doing the layout, I’m usually over-cautious (as the 120 photos would suggest) and end up with loads of photos unused. Let’s face it, even a complete beginner doesn’t need to see every step of the wool tops being laid out 🙂 But when I downloaded the photos and looked through, all the photos of adding the embellishments were missing! Where were they? Did I forget to download them and then delete them off the camera? No, because I didn’t download/delete anything until the 2nd day. So where were they? I must have zoned out as some point, wandered off to get a drink or put music on, then got too engrossed in adding all the yarns and shiny fibres because there were no photos between finishing the top layer of wool, and that finished top photo above. Luckily that was all I’d forgotten. Or so I thought! I wanted to show the versatility of the felt pieces and how they can be made into other things, such as the concertina pieces I’ve made into danglie decorative pieces:
 So, while I was ‘on a roll’ with the felting, I took photos of the process of how to do that. Here it is all bundled up:
 And then how it doesn’t have to become a concertina piece, but a more 3D ‘sculpural’ piece:
But that meant, not only did I not have any photos of adding embellishments, I also didn’t have photos of the finished dried piece! Luckily, I’m used to myself and how gormless and forgetful I am 🙂 And when you don’t have to take 120 photos of the process, doing a layout is really quick and easy, so it wasn’t too time consuming to re-create the piece and take photos of the missing stages.
 If you’re interested in any of the tutorials I’ve written, including the ones mentioned here, please have a look at my etsy shop. I also have some larger, more in-depth e-books, Beyond Nuno, and The Right Fibre, which you can find out about by clicking the titles. And just in case there’s anyone who hadn’t noticed, we also have a ‘shop’ section here, and some of my e-books and tutes are listed there too 🙂


