Browsed by
Category: Yurt

Yurt Update – Finally a Little Bit of Felting

Yurt Update – Finally a Little Bit of Felting

I finally started on felting for the yurt. Not much, but a sample to figure out shrinkage.

Wool BattThis is one of the batts rolled out on the living room floor. That is a yardstick so you can see about how big it is. It looks grey here but it’s really brown.

Wool LayoutHere’s my sample square ready to felt. I used two layers of batt so I can make sure it will be thick and heavy enough to keep out the weather.

Wool Layout ThicknessIt was almost 6″ thick.

Yurt Felt SampleAnd here’s the final sample after felting. It is very thick and sturdy. The wool felted easily but it only shrank 6%. That seems minimal to me. I’m used to 30% so I hope that it doesn’t shrink differently when I do a large wall piece. But after a bunch of math, I figured out that I might just have enough wool for the walls and the roof. Now, we just have to work out exactly how we’re going to pull the big rolled bundle behind the tractor. There is talk from my husband about field draggers, PVC pipe, chain etc. But that’s his job. I’m rolling the felt up around the PVC pipe and he’s going to do all the connecting to the tractor and pulling it around the field.

Short Wall Slats with 45 degree Angle Cut for DoorWe’re also still working on the frame and I still have some sanding yet to do. These are the final pieces that I needed to cut shorter for the walls. The ends needed to be cut at a 45 degree angle  as they will be butting up against the door frame.

Cutting the TonoThe next part we started working on is called the tono. It is the center section of the roof where all the roof poles insert. Luckily, we already had this set up for our router. It is to make circles. It is kind of like using a string and pencil to draw a circle.

Tono CutHere’s one of the circles completely cut.

Remaining BoardWe saved the extra piece to make the rest of the tono.

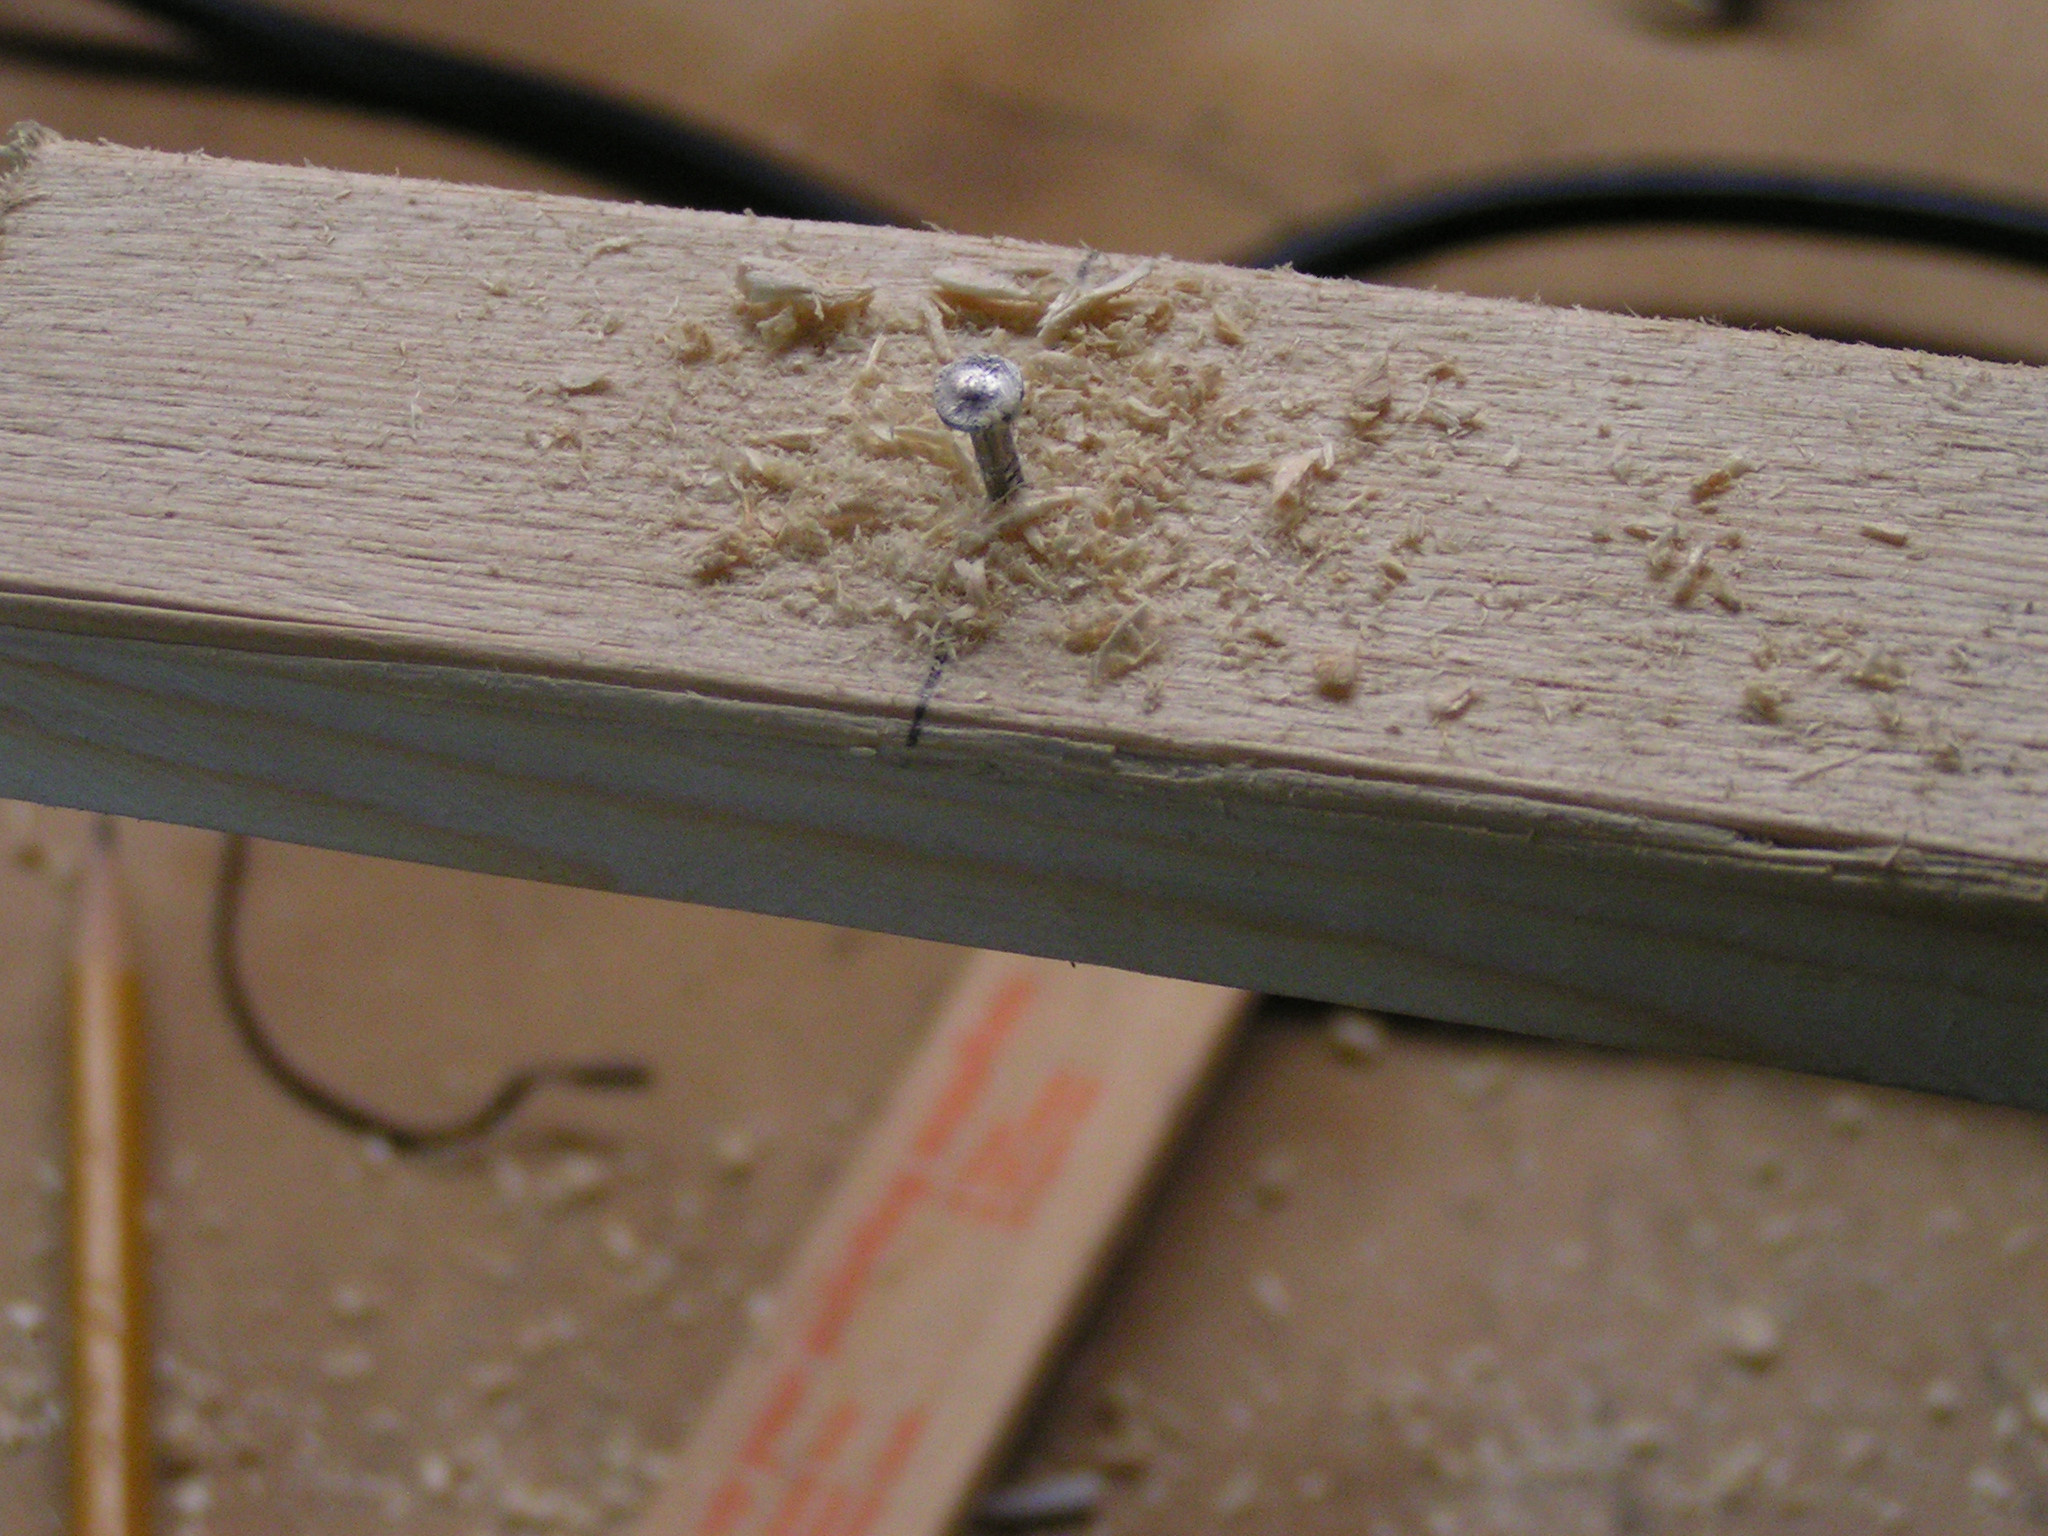
Cutting the Inner CircleThen we needed to cut another circle within the circle. More measuring and the nail is what holds the plastic jig in the center.

Inner Circle Cut


Here it is as we finished cutting the inner circle out.

Proud Hubby


Doesn’t he look proud!

First Tono LayerHere is the first layer cut out. We made three all together that we will glue together to make the wood thick enough for the holes for the roof pole ends.

Cutting Other Tono PartsThen there are pieces that arch up over the flat tono circle. We rigged up a way to use the old center circle and made an arc cut with the router. Now we just have to cut the ends and this piece will be the arch over the circle. It’s a little hard to picture but I’ll show you more photos when we have it together.

So the wall felting will begin in the next two weeks. If you’re in the area and you’d like to join in, let me know and I’ll give you the schedule. I’d love to have you join us!


Wall Success

Wall Success

Well, I bit the bullet and sawed off several of the wall rods in the yurt wall to make the shorter pieces needed to make a squared lattice.

Measuring The Short EndsThe way it works is that you can get two short pieces from one rod except the ones that have 8 holes instead of 9.

More rods to cutSo I cut enough to make one lattice section. I didn’t want to cut them all in case I really didn’t understand this 5 up, 4 down system. But miraculously it worked.

Success on the wallThen was the puzzle of figuring out what piece went where. But this is the completed section. If you look on the right side, the piece on the very bottom right is a “2 up” and the one on the very top right is a “2 down”. It took us quite a while to get this figured out and then I never wanted to pick it up. But I did, cut the rest of the short pieces except those that have 45 degree angle cuts by the door and started more sanding.

Sanded RodsHere are the ones that are sanded.

Unsanded RodsAnd this is the pile that still needs sanding. Sigh. I did get all the short pieces sanded since this photo but still have a bunch more to sand. But now I have a good idea on the size of the wall and I hope to start the felting process next weekend. I need to do a sample to see what the shrinkage rate for the wool is and then I’ll be ready to felt a wall section. So stay tuned, felting to begin soon 🙂


Yurt Update – Sanding and Being Easily Confused

Yurt Update – Sanding and Being Easily Confused

We’ve been working away on the yurt since my last post. We finished drilling all the holes and then  there was a scare because I figured out that I had cut all the pieces the wrong size. I had thought something was wrong when we were drilling the holes and the last one was right at the end of the board. So I looked back at the book and the length was supposed to be 78″. I had cut them to 7′ long. Luckily, that means they are supposed to be 6.5′ long. So they were too long. But that’s much better than too short. So I cut them all down to 6.5′ long. Next up, sanding.

Just to be clear, we are making what is called a Mongolian ger. The word ger rhymes with air. Mongolians do not call their dwellings yurts. But since most people know these type of dwellings as yurts, I think it will be simpler to keep calling it a yurt.

Belt SanderWhen I wrote my last post, Ann had suggested that I use a stationary belt sander. We have a hand-held one but not a stationary one. So Dennis rigged up a way to use the hand-held sander upside down. It is clamped on to a piece of plywood on a saw horse.

Making Out Belt Sander Stationary

The small piece of wood on the right hand side of the photo is used to keep the sander button pushed down. Normally, you have to hold it down the entire time you are sanding. But that wouldn’t work in this position. So the wood holds the button down for me. I’m sure this whole process is not the way you are supposed to use a belt sander. Perhaps I should have a warning of “Don’t try this at home.” 🙂

SandingSo here I am sanding a wall rod. It takes between 5-7 minutes to sand one rod and I only have 110. I’ve done 20.

Sanding Wall RodThis really does make the sanding much easier. Thanks Ann for your idea. It works perfectly.

Sanding the EndI even sand the ends. I want everything to be nice and smooth before we paint the rods. I am wearing ear protection and my glasses but next time I am going to wear a mask. The sander puts all kinds of saw dust into the air.

Laying out the wallNext, I have to figure out how to put the walls together. I laid out the boards and the middle ones make perfect sense. It’s just when you get to the ends, that you have to figure out what part of the boards need to be cut off and in what direction.

Figuring Out the EndsAs you can see, the edges are not right because I haven’t cut the boards shorter. The book says we need 8 up (6), 8 down (6), 7 up (3), 7 down (3) etc. After laying the boards out, I think I have it figured out but I really don’t want to cut them wrong. So I guess I’ll do one wall first so I don’t cut them all wrong. So it’s just a bit confusing and being easily confused doesn’t help the matter! There will be four wall sections when we’re finished. Wish me luck!

After I get one wall section completed, I can begin the felting process. I need to know the exact dimensions that need to be covered before I can make the felt walls. I would hate to do all this work and end up with the wrong size. So felting will begin soon, I promise.

Yurt Beginnings

Yurt Beginnings

We finally purchased the wood to begin making the yurt frame. I can’t begin felting until the side walls are made so I know the correct size to felt the cover. The yurt frame is made up of 4 lattice sections (think baby gate here) and then the roof poles attach to the top of the lattice and insert into a round piece called the tono at the top of the yurt. We are following instructions from a book by Paul King. If you click on the link, you can see what a professionally built yurt looks like. Hopefully, ours will be close.

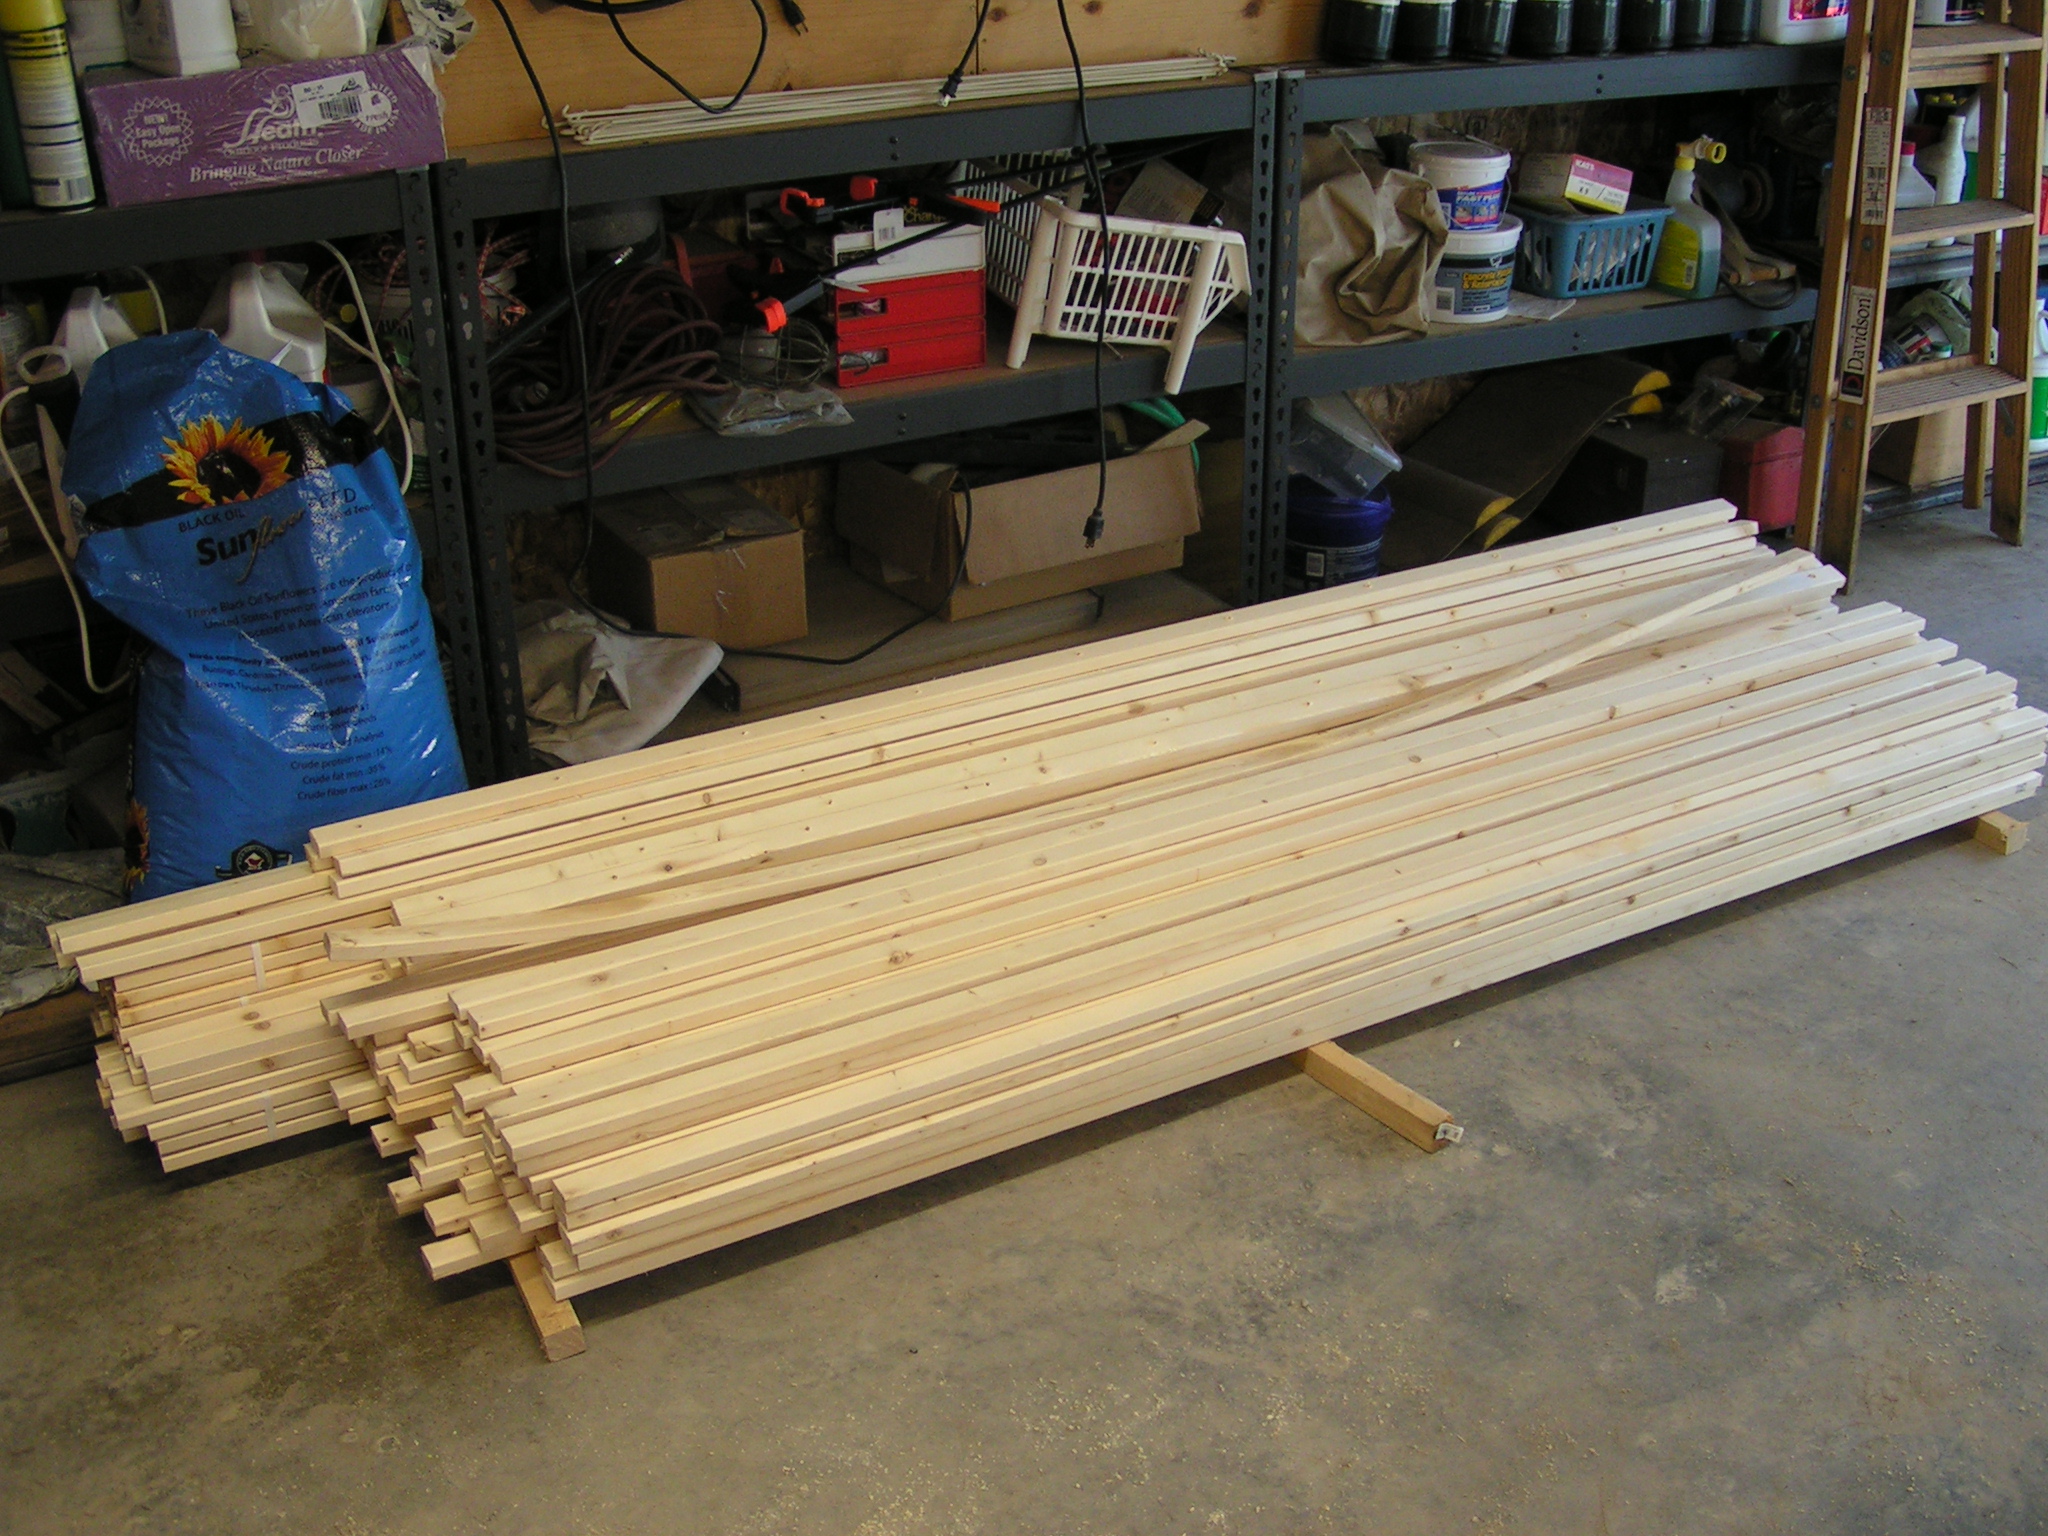
Yurt woodOur plan is for a 16′ diameter yurt made in the Mongolian style. We bought 162 1″x 2″ x 8′ pieces of wood. 110 of these are for the side walls and 52 for the roof poles. The side wall pieces needed to be 7′ long so I cut off a foot with the table saw. Do you see that pesky warped piece. It didn’t look like that when we bought it but without any pressure from other boards, it warped like that in about 30 minutes. That will be a short piece for sure.

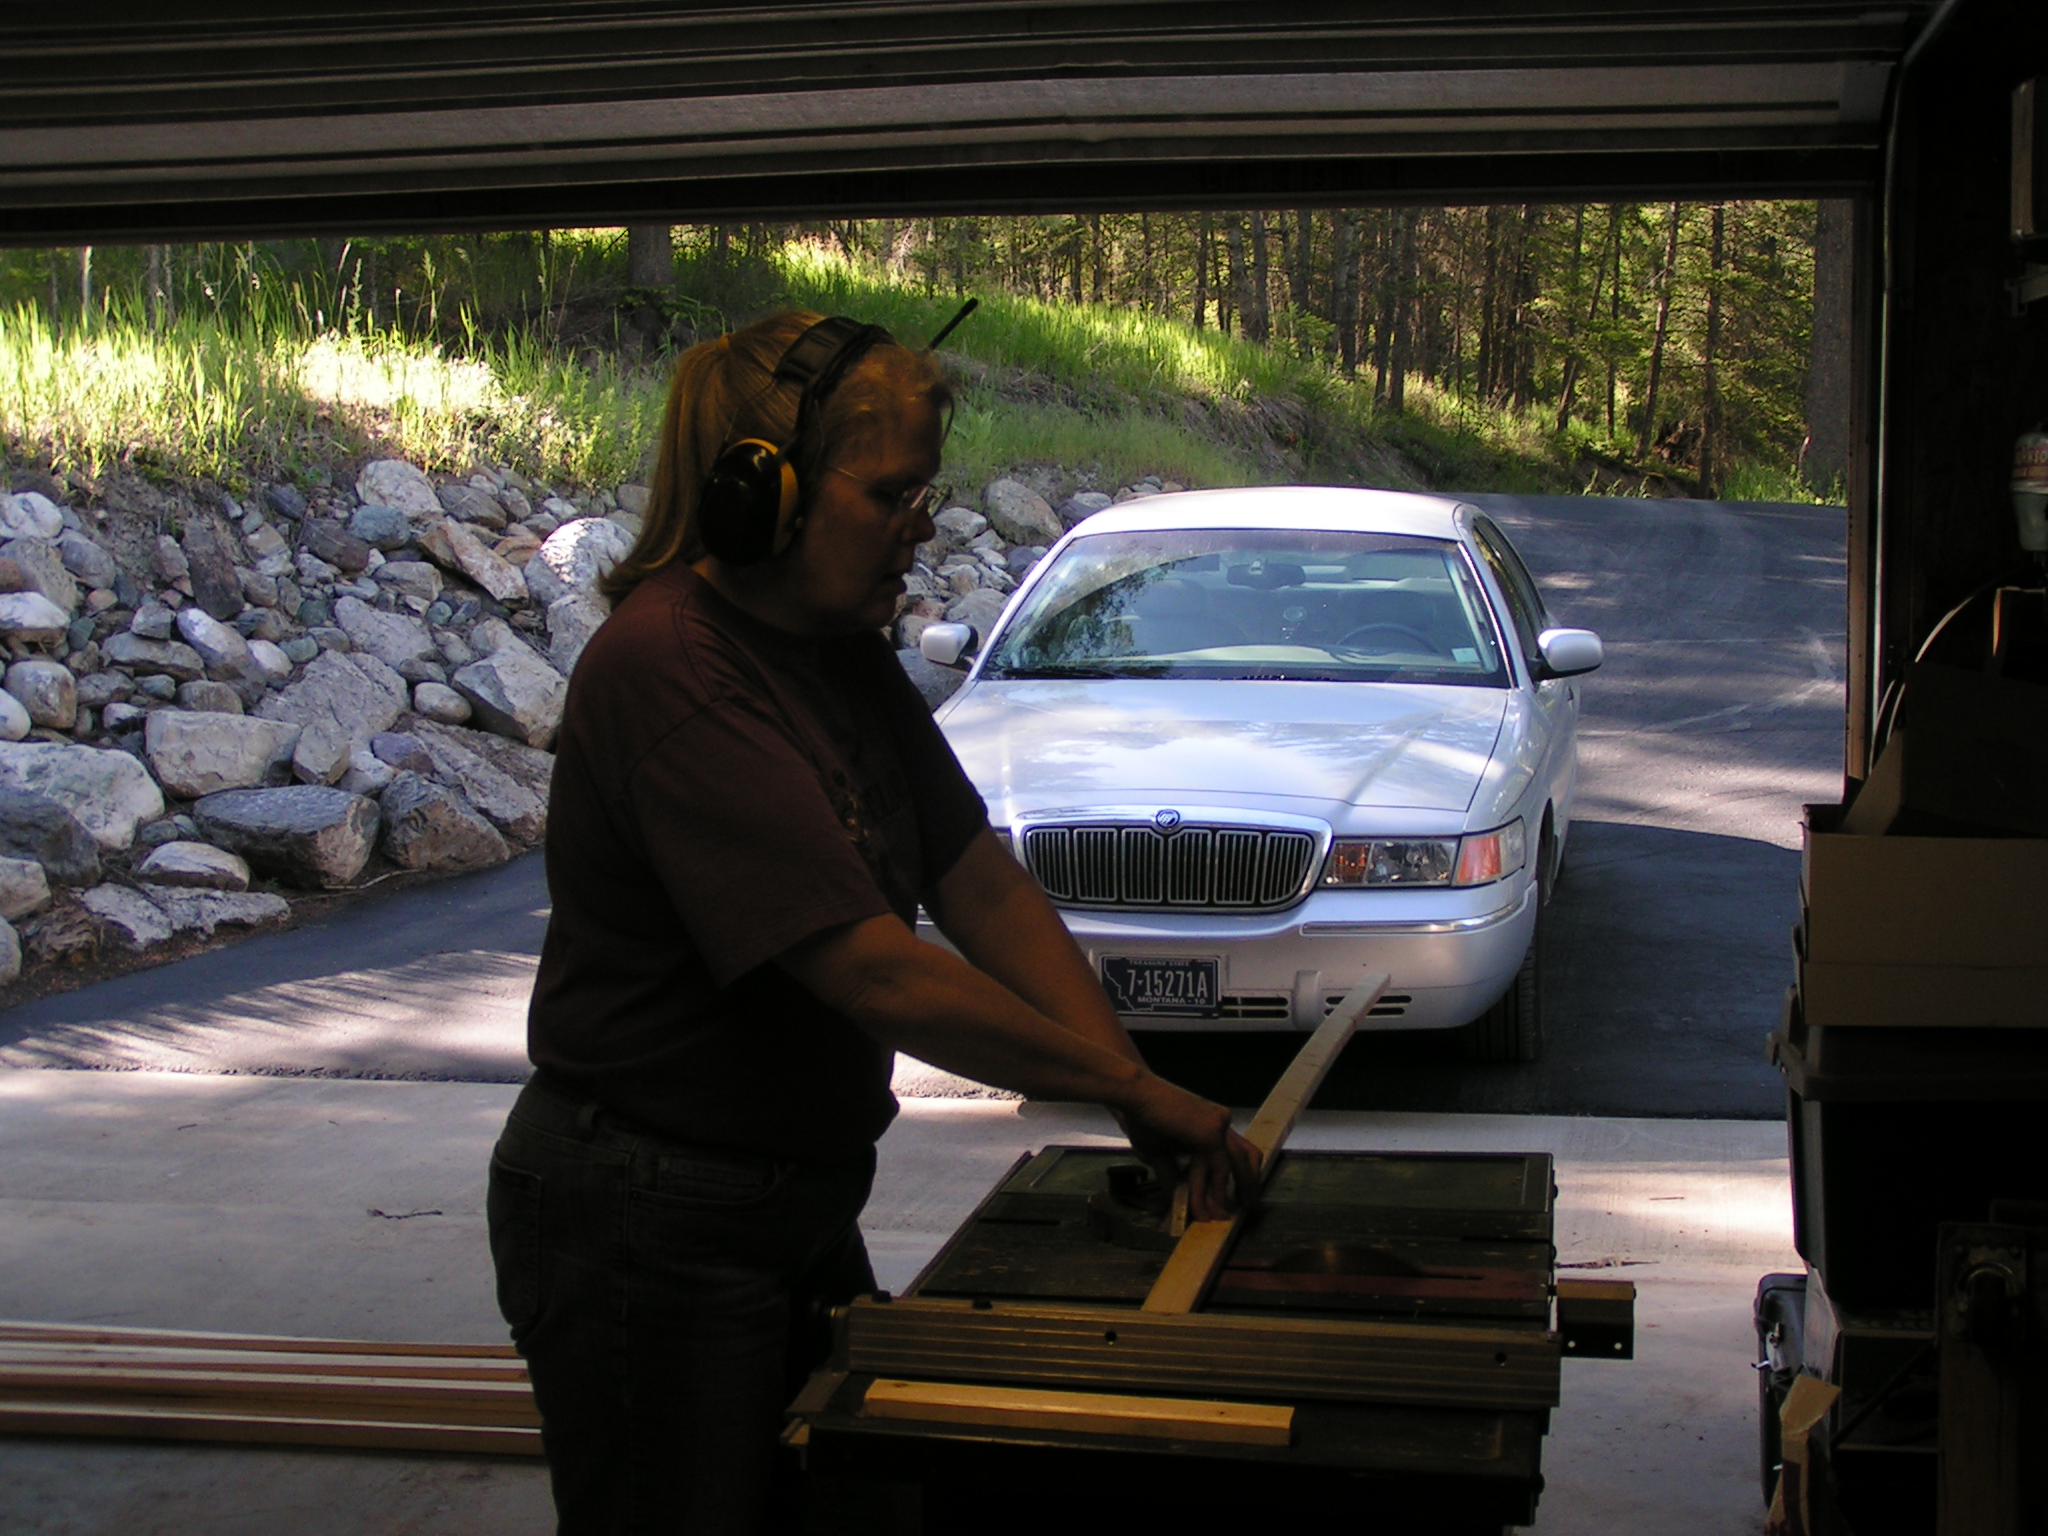
Ruth on the Table SawThis isn’t the best photo but here I am sawing away. I did take shop class in high school but it’s been a while since I’ve used power tools. The ripping fence kept moving and I sawed several pieces too short. Luckily, we need 44 pieces that will be shorter than 7′ long for the ends of the lattice. Dennis finally figured out how to attach the fence properly and I got all the pieces down to the required seven-foot length.

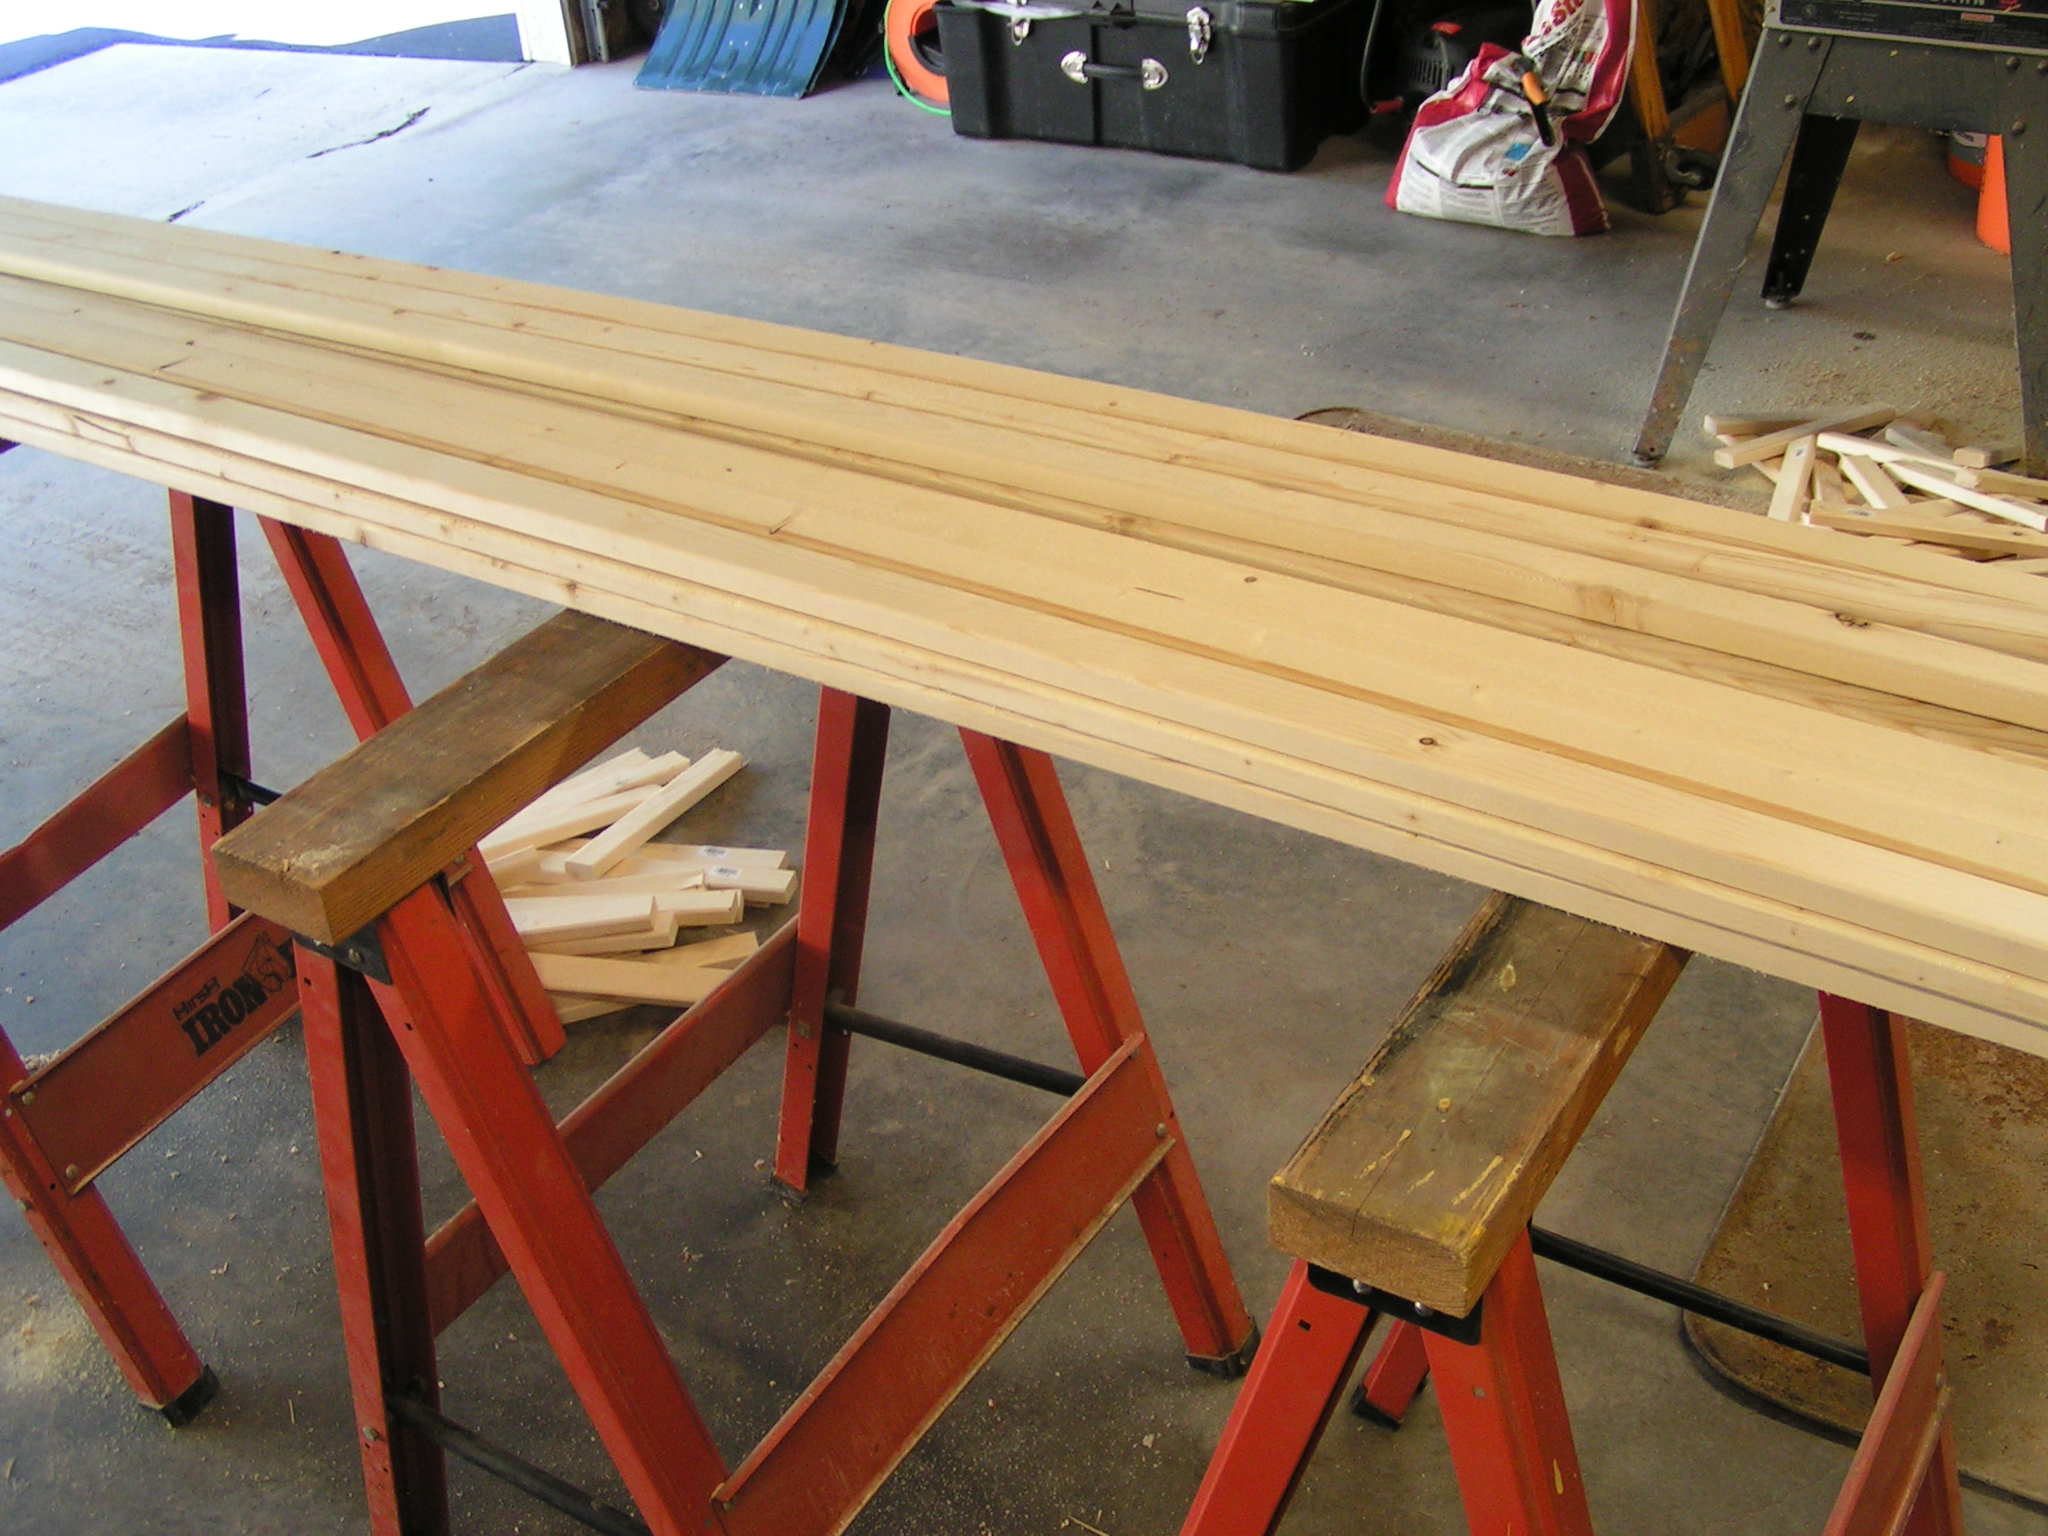
wood scraps

Here’s the pile of ends after sawing. I’m not sure what we’ll do with these scraps but I’m sure we’ll think of something.

Short piecesWe had to separate out all those short pieces and then figure out what sizes they need to be to fit on the ends of the lattice where you don’t need a full piece. There’s something about counting the holes; we need two 8 up lengths and two 8 down, four 6 up and four 6 down etc. I have read that part of the book three times and I’m still not sure what he means exactly. I think we’ll have to lay out one lattice section and see exactly where we’re supposed to cut as we really don’t want to have to go back and buy more wood.

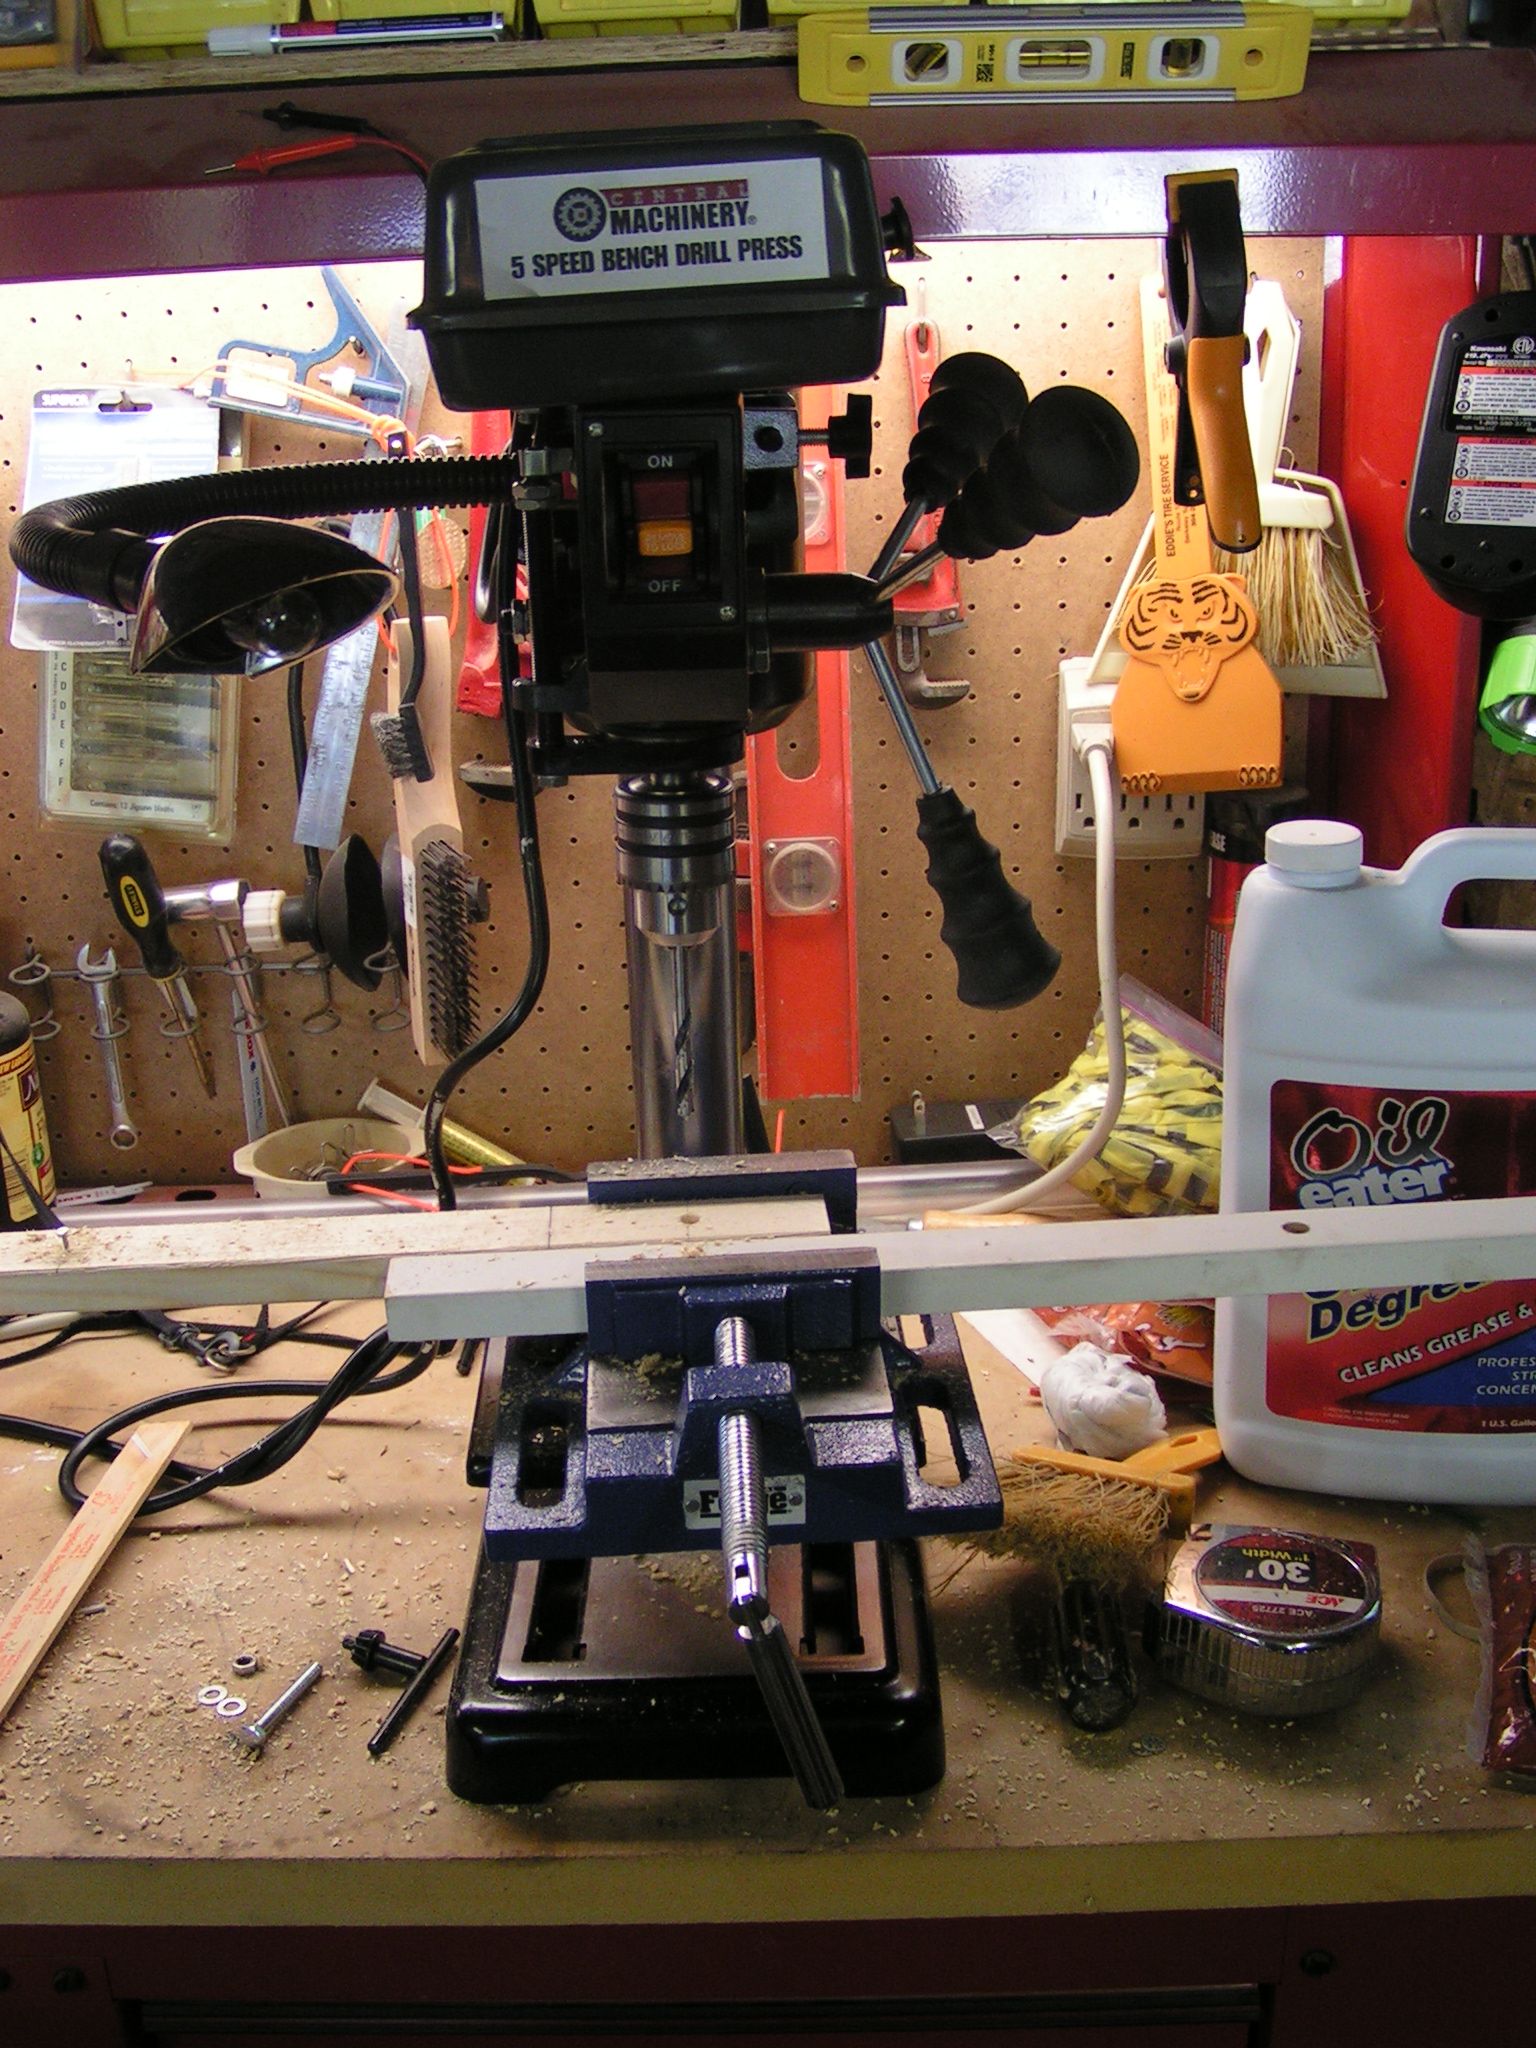
Drill PressNext up was the drilling process. The lattice has to be connected together at all the crossing points on those 7′ long boards. So each board needs to have 10 holes drilled into it. 10 holes in 110 boards or 1,100 holes drilled. Exactly 9″ apart and then holes need to be vertical or the lattice won’t operate properly. Thus the need for a drill press. In the instructions, Mr. King kindly explains how to make a little jig or pattern to follow. The first hole is drilled at 2″ and then each hole after that is 9″ apart.

Drill JigHere’s the jig we devised from his instructions. The mark to the left of the drill hole is 2″ so you line up your board and drill the first hole. Then further over to the left, you’ll see a nail. Once your first hole is drilled, you lift up the board, put the hole you just drilled over the nail and then drill the next hole. The nail is exactly 9″ from where the drill bit goes in. And then you just keep moving your board down and putting the hole you just drilled over the nail until you reach the end of the board and have drilled 10 holes.

nailHere’s the nail; I did end up marking the side of the board where the nail is so I could move a little faster. After drilling a few of these though, you really get used to where 9″ is.

DrillingHere is a board being drilled. I drilled for about 4 hours on Sunday and Dennis drilled for another hour or so. We are about 1/3 of the way through our 110 boards. Then they’ll need to be sanded and we’ll have to figure out the cutting of the short pieces. Some have to be cut square and others at a 45 degree angle. The ones cut at the 45 degree angle go by the door frame. I did buy a 5 gallon container of orange paint to paint all the wood. That should brighten up the inside. So I’ll keep you posted on our progress. We’re going out of town next week but I hope to get all the boards drilled before we leave.

P.S. I still have all my fingers! 🙂

P.S.S. If you’d like to see an update on the umbrella tree, see my post on Permutations in Fiber.