

Lyn
In the late 60’s I was taught how to crochet by my Aunt Doris and I loved it. She showed me how to read a crochet pattern and the first thing I made was a green mini dress for myself.
At that time the ‘granny square’ became popular and I made a long, sleeveless jacket for my mum from brightly coloured squares edged with black.
So coming up with a challenge idea was easy for me. I had a search of the internet and found a free pattern by Michelle of The Snugglery (free pattern) The pattern is for a 60’s hippie-style top. Perfect.
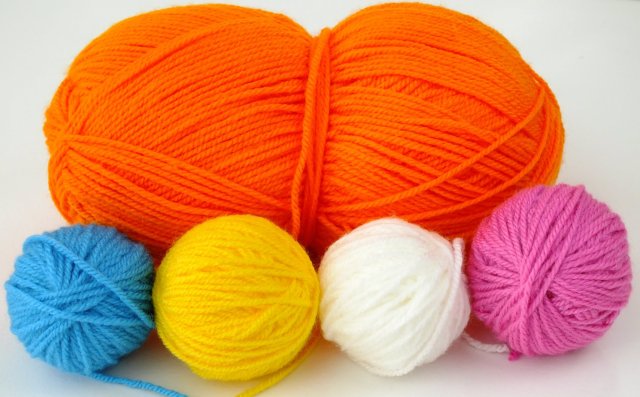
I auditioned my stash of yarns and picked out some bright ones that I thought went together well – orange was a very popular colour in the late 60’s.

I made 8 traditional granny squares to measure 16.5cm (6½”) each – all the same as the one shown below.


If you’d like to know how to crochet a traditional granny square, there are many free YouTube videos – here is a good one but be aware that US double crochet stitch is UK treble crochet stitch.
how to crochet a granny square
How frustrating is it when you come to a knot in the yarn?


Here is Michelle’s pattern showing how to join the squares….


… and here are my 8 granny squares stitched together but not yet joined to make one piece.


A fringe, made with 3 strands of yarn, is essential to the look of this top. I decided it would be easier to attach a fringe while the squares were flat on the table before joining them to make the top complete.


The thin straps were crocheted using 3 strands of yarn and a simple chain stitch.


Here’s how I kept the 3 yarns from tangling.


The finished top will be donated to a retro charity shop and I hope someone enjoys wearing it – even if it’s for fancy dress! Here’s the ‘flat’ shot …


… and after much persuasion, here’s Annie modelling it, but she refused to take her tee-shirt off!

Annie
I’ve had plans to make some more pods for a while now and as flowers were popular in designs in the 60’s I thought I’d make a floral one for the 4th quarter challenge.
Usually I put the design on the outside after the fibres are all laid down but this time I decided to do it in reverse. I think it would have worked well with a simpler design but it bent my brain trying to lay down felt flowers, yarn outlines and background fabrics in reverse!
In the end I laid out the design for the first side face up over a template circle so I’d only have to do the other side in reverse. It was quite complicated with having to wrap the design round the edges.


Then I put the resist on top and flipped it all over so that the design faced into the resist.


I laid down the first layer of fibres over the design then carried on making the pod in the usual way.

After I took the resist out I turned it inside out to reveal the design then carried on felting to shape the pod. I didn’t really think it through – maybe it would have been easier to just put the design on the outside. But it was fun to make. Although it’s not perfect it’s not wasted time – any time spent experimenting and making is time well spent if you ask me!


